How To Install Spanish Tile Roof? (6 Steps)
Posted May 20th, 2025 | 9 min. Read
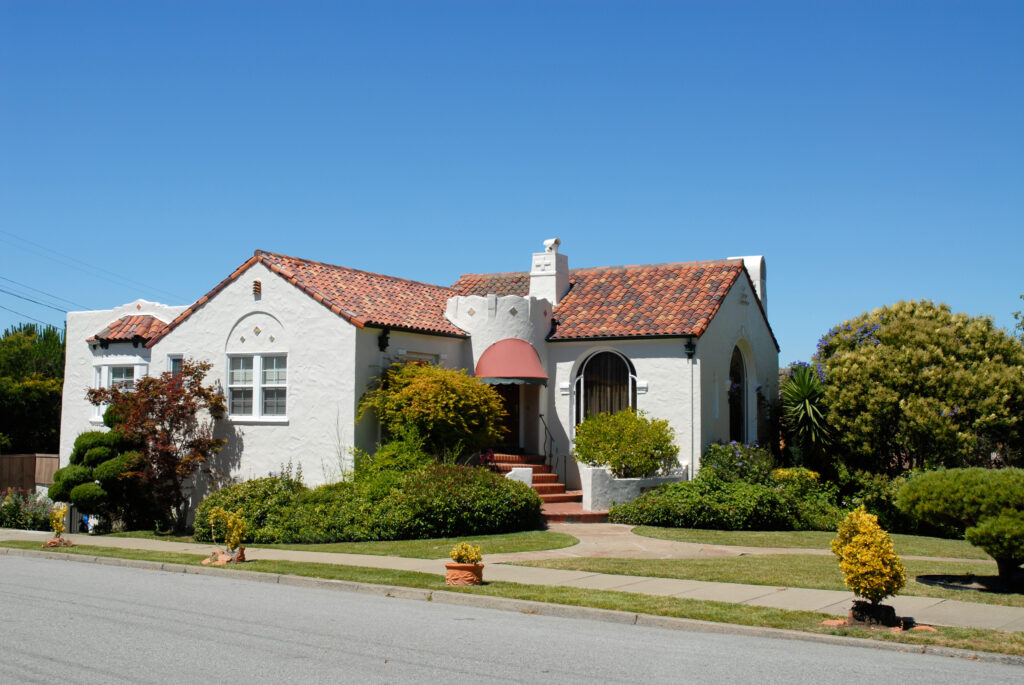
A Spanish tile roof can add timeless beauty and unmatched durability to your home. A Spanish tile roof creates a gorgeous roofline that enhances curb appeal and makes your home stand out. With its elegant design and weather-resistant properties, it’s a popular choice for homeowners looking for both style and longevity. Spanish tile roofs are also a notable architectural feature, contributing to the distinctive character and visual impact of your home. But installing a Spanish tile roof requires precision, expertise, and careful planning. Whether you’re planning a DIY project or simply want to understand the process better, this guide will walk you through every step.
Here’s an overview of what we’ll cover:
- Benefits of a Spanish tile roof and choosing the right materials
- Step-by-step guide to installing Spanish tiles
- Tips for maintaining and extending the lifespan of your roof
🤔 Why Choose a Spanish Tile Roof?
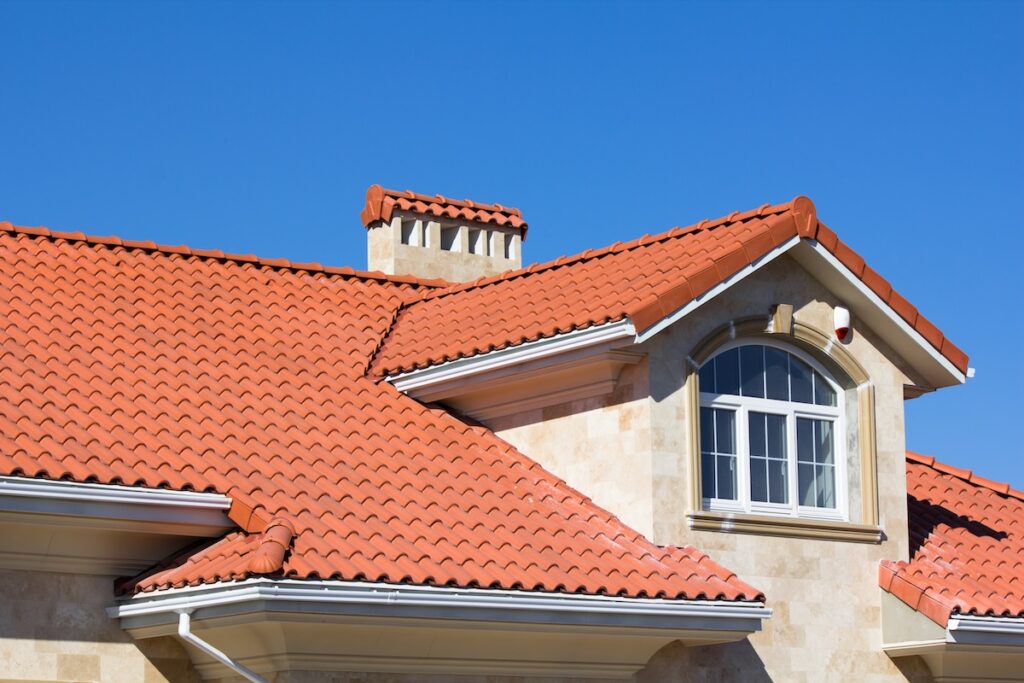
Considering a new roof? Spanish roofing tile is a fantastic option that offers both beauty and functionality. These tiles are not just about enhancing the look of your home; they provide numerous practical benefits that make them a smart, long-term investment. Many homeowners are attracted to Spanish tile roofs for their premium look and durability, but cost can be a deciding factor. When comparing Spanish tile roofs to other roofing options, it’s important to consider the costs involved, including installation, materials, and long-term expenses.
Here are some reasons why Spanish tiles might be the perfect choice for your roof:
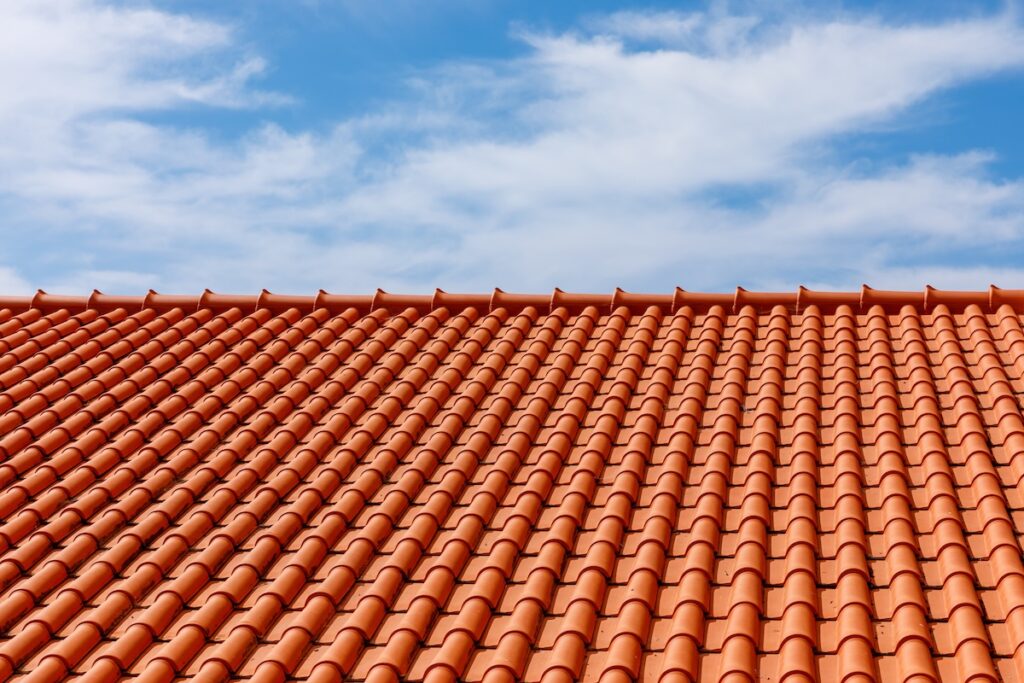
- Durability: Spanish tiles are incredibly long-lasting, with many roofs functioning perfectly for over 50 years.
- Weather Resistance: They can stand up to extreme weather conditions, from scorching sun to heavy rain.
- Energy Efficient: The curved design allows for air circulation, keeping your home cooler in summer.
- Timeless Appeal: With their classic Mediterranean look, Spanish tiles add a sense of elegance that never goes out of style.
- Environmentally Friendly: Clay and concrete tiles are sustainable and recyclable materials.
- Energy Efficiency: Spanish tile roofs can help save money on utility bills by improving energy efficiency, especially in warmer climates.
While the initial cost of Spanish tile roofs may be higher than other materials, they can save you money in the long run due to their durability, low maintenance costs, and potential energy savings.
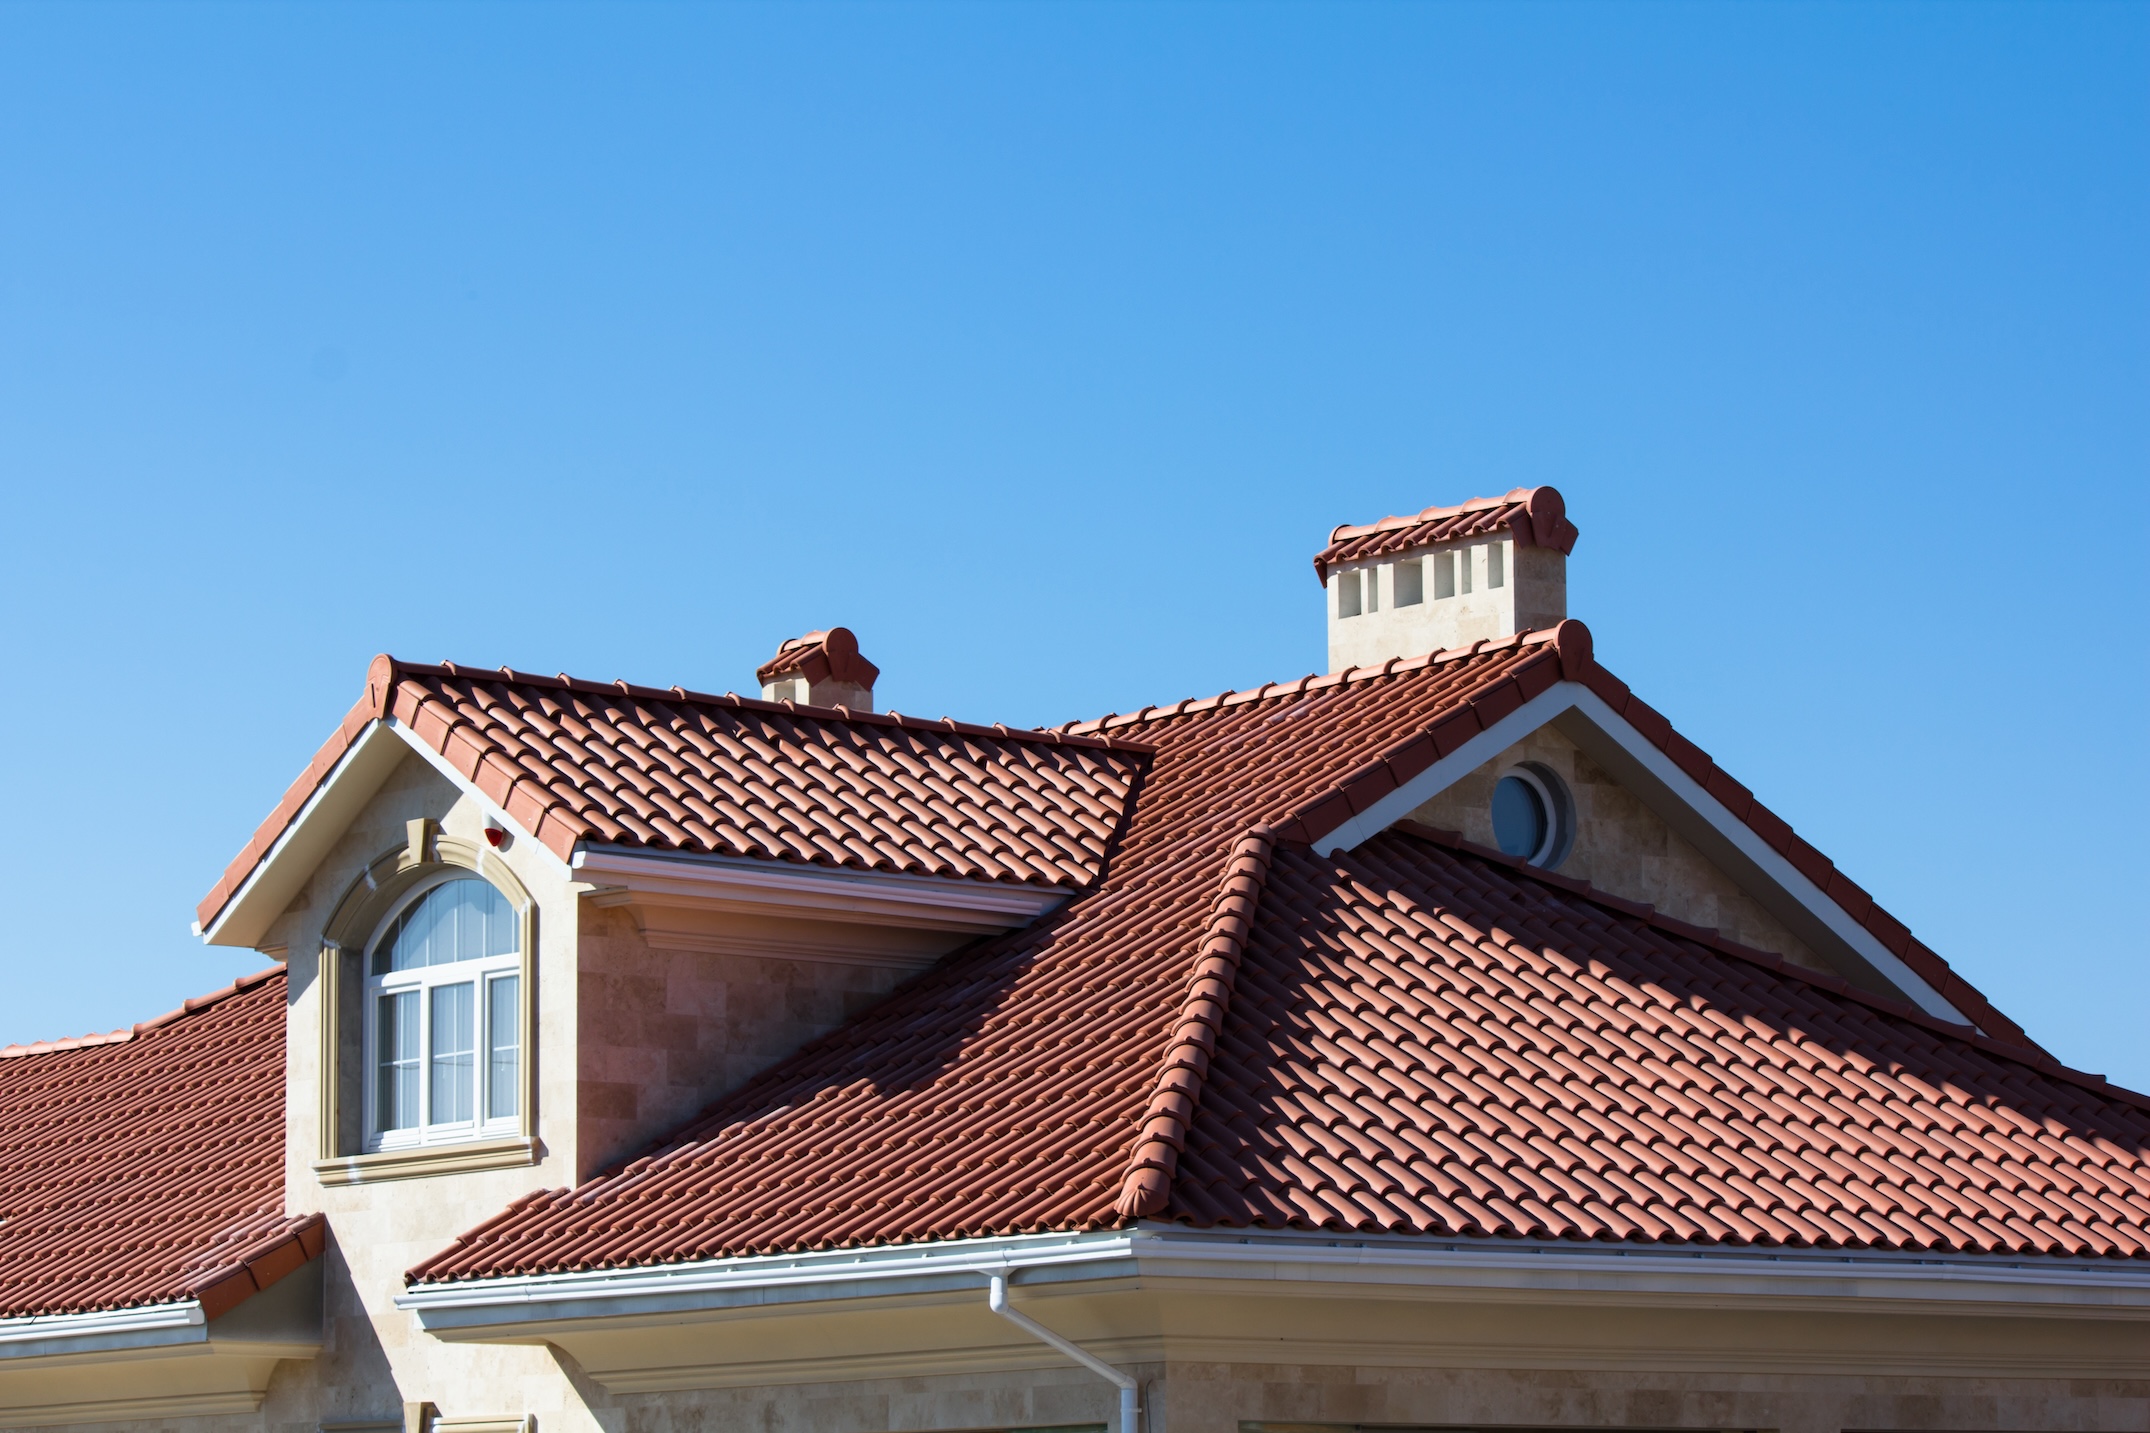
✅ 6 Step Guide for Installing a Spanish Tile Roof
Installing a Spanish tile roof as your roofing material not only adds timeless beauty to your home but also provides durability and excellent weather resistance.
Spanish tile is one of several roofing options available, and its unique properties make it a preferred choice for many homeowners.
1. Preparing the Roof Structure
The first step in the construction process of preparing your roof structure is to inspect and reinforce the roof deck. It’s critical to ensure that the underlying wood is sturdy enough to support the weight of the tiles. Carefully examine the surface for any damaged or rotted areas. If you identify issues, replace these sections immediately using quality material to ensure the roof’s integrity. Additionally, strengthen the structure where necessary to provide long-term support for the tiles. Once the roof deck is secure, install metal flashing and drip edges at all roof edges, making sure to secure these components with appropriate nails for durability. These components are essential for channeling water into the gutters and preventing moisture damage, protecting the roof materials from leaks and deterioration over time.
2. Installing the Underlayment
The next phase involves laying the underlayment, which acts as a protective barrier against water and other elements by forming a continuous, effective barrier. Use a high-quality, water-resistant underlayment and cover the entire roof surface evenly; underlayment is typically measured and installed by the square foot.
Compared to the underlayment process for shingles, Spanish tile roofs often require a heavier or more robust underlayment to match the unique form and water-shedding needs of the tiles.
Ensure that each strip of underlayment overlaps the previous one by at least six inches, as this overlap is critical for preventing leaks. To secure the underlayment, gently nail it down while avoiding wrinkles or gaps that could compromise its effectiveness. A smooth, properly installed underlayment is essential for creating a watertight base for the tiles.
3. Placing the Starter Course
After the underlayment is installed, it’s time to place the starter course. The starter course tiles should be laid at the edge of the roof, where the first rows of tiles will be partially visible from the ground. Carefully position the tiles, making sure they are aligned correctly to match the rest of the roof for a consistent look. Proper alignment is crucial to achieving a clean, professional look. Every tile should be spaced evenly to ensure the desired visual effect and overall consistency and appeal. Taking the time to correctly position the starter course sets the foundation for the rest of the tile installation.
4. Attaching the Main Tiles
Once the starter course is in place, begin laying the main tiles row by row. Barrel tile is commonly used for Spanish tile roofs. Start at the lower edge of the roof and work your way upward toward the peak. Each tile should overlap the one below it to create a watertight seal. Each one tile must be properly positioned for both function and appearance. Use screws or adhesive to secure each tile firmly to the underlayment. This prevents any movement over time and ensures the roof’s durability. When you reach the edges and corners of the roof, use specialized tools to cut and fit the tiles for a seamless appearance—multi colored blends can enhance the visual appeal. Precision is key during this step to maintain both functionality and aesthetics. The finished appearance can vary depending on installation techniques and tile selection.
5. Finishing with Ridge Caps
To complete the roof, install top ridge pieces and ridge caps along the peak as part of the finishing process. Ridge tiles provide extra protection from the elements and give the roof a polished, finished look.
For a watertight and visually cohesive finish, use hip trim along the roof’s hips and install ridge closures at the ridge line. These components help seal and finish the roof, ensuring weather resistance and a clean appearance.
Carefully place the ridge tiles, ensuring they fit snugly along the peak. Secure the ridge tiles using ring shank nails for added durability and long-term performance. Use roof cement or adhesive to further stabilize them, adding resistance to wind or heavy rain.
Properly installed ridges are essential for both weather protection and aesthetics, completing the roof’s structure and enhancing its longevity.
6. Final Inspection
The last step is to perform a thorough inspection of the roof. Walk cautiously across the surface and check for any loose or improperly placed tiles, ensuring that all tiles are secure to maintain optimal wind resistance. Re-secure any tiles as needed to ensure they are firmly attached. After verifying the tiles, test the roof’s water resistance by spraying it with a garden hose. Check for any leaks or weak areas that need attention.
It is important to confirm that the roof can withstand high wind speeds, as this is critical for durability and safety, especially in storm-prone areas.
Prompt repair of any issues found during inspection is crucial for long-term performance and to ensure the roof is fully prepared to withstand the elements. Once the inspection is complete, your roof installation is finished.
🛠️ Maintaining a Spanish Tile Roof
A well-maintained Spanish tile roof can last decades, providing long term protection for your home. Here are essential maintenance tips to keep your roof in top condition: Regular inspections help identify damage from hail and other weather events.
Maintaining your roof can also save you money in the long run by reducing repair costs and extending the life of your roofing system.
Inspect Tiles Annually
Take time each year to carefully inspect your roof tiles for any cracks, chips, or other visible damage, especially damage caused by storm debris. These small issues, often resulting from storm debris, can worsen over time, potentially leading to leaks or more costly repairs if left unaddressed. Early detection is key to maintaining the integrity of your roof.
Remove Debris and Moss Regularly
Keep your roof clear of debris, moss, and leaves to prevent water buildup and avoid unnecessary strain on your tiles. Accumulated debris can trap moisture, which may lead to mold growth or weaken the tiles over time. Regular cleaning ensures proper drainage and extends the life of your roof.
Schedule Professional Cleanings
To preserve the finish and keep your roof aesthetically pleasing, schedule professional cleanings as needed. Experts have the tools and knowledge to clean thoroughly without causing damage, helping your roof maintain its durability and aesthetic appeal for years to come.
Replace Broken or Missing Tiles Immediately
If you notice any broken or missing tiles, prompt repair or replacement is essential to prevent structural damage. Gaps in your roof can expose the underlayment to the elements, leading to leaks and long-term issues. Quick action helps maintain the strength and safety of your roof and protects your house from weather damage.
🏠 Spanish Tile Installation
When it comes to Spanish tile roofing, Certified Roofing Solutions is the team you can trust to deliver unmatched quality and expertise. Brava Barrel Tile and Brava Spanish Tile are innovative, environmentally friendly alternatives to traditional clay roof tile, offering superior performance and sustainability. With decades of experience, premium materials, and a commitment to customer satisfaction, we ensure your roof not only enhances the beauty of your home but also stands the test of time.
Our composite Spanish barrel tile provides significant advantages over traditional clay tiles and other roofing materials, including reduced weight, increased durability, and easier installation. Spanish roof tile and terra cotta options are available in custom colors to perfectly match your design preferences. These materials also offer excellent fire and hail resistance, with high fire rating standards and a slate-like appearance for added aesthetic appeal. Proper construction, including precise square measurements and careful attention to rake edges, ensures a professional and long-lasting installation. In today’s market, Spanish roof products stand out for their cost-effectiveness, durability, and classic appearance compared to other roofing materials.
Let us bring your vision to life with our skilled craftsmanship and long-lasting warranties for complete peace of mind. Ready to transform your home with a stunning Spanish tile roof? Contact us today for a free consultation!