3 Types of Roof Underlayment and Installation
Posted May 22nd, 2025 | 7 min. Read
When it comes to roofing, the spotlight often falls on shingles, metal sheets, or tiles. However, there’s a silent hero working behind the scenes to protect your home from water damage and harsh weather conditions: roof underlayment.
This unsung layer is an essential component of the roofing system, acting as a primary shield between your home and potential elements of destruction. Whether you’re a homeowner exploring roofing options or a contractor brushing up your knowledge, this guide is here to provide clarity and direction.
- What roof underlayment is and why it’s crucial
- Types of roof underlayment and their unique features
- Expert insights into installation processes
🔎 Understanding Roof Underlayment
Roof underlayment refers to a layer of material installed directly onto the roof deck beneath the outer roofing material. Its purpose? To provide an added barrier against water and moisture infiltration, protect the structural integrity of your roof, and, ultimately, extend its lifespan.
Think of it as wearing a waterproof jacket under a stylish coat. It might not be visible, but it does a lot of heavy lifting to keep things dry and functional.
Why is Roof Underlayment Important?
- Weather Protection: It adds a critical layer of defense against wind-driven rain or snow.
- Leak Prevention: Acts as a backup in case the outer roofing material is compromised.
- Durability: Enhances your roof’s ability to withstand extreme climates.
- Energy Efficiency: Some advanced underlayment contributes to better insulation, leading to potential energy savings.
👉 3 Types of Roof Underlayment
Not all roof underlayments are created equal. The right one for your home can depend on factors such as climate, roofing material, and budget. Here’s a breakdown of the three main categories:
1. Asphalt-Saturated Felt
Asphalt-saturated felt is one of the oldest and most reliable underlayment materials used in roofing. It is made from a mixture of bitumen and cellulose or fiberglass fibers, resulting in a durable and effective protective layer. This material is known for being affordable and readily available, making it a popular choice for many homeowners. While it provides moderate water resistance, it is not entirely waterproof, which makes it best suited for homes in mild climates. Asphalt-saturated felt is available in two main weights: 15-pound and 30-pound varieties. The 30-pound version offers superior durability and is often recommended for those seeking a sturdier option. This underlayment pairs well with shingle or slate roofing, where extreme weather conditions are not a primary concern.
2. Synthetic Underlayment
Synthetic underlayment has quickly become a favorite among modern roofing options due to its advanced durability and lightweight nature. This underlayment is typically made from polypropylene or polyethylene, materials that are designed to provide long-lasting performance. It offers exceptional resistance to water, which makes it a standout choice for areas prone to heavy rainfall. Additionally, synthetic underlayment is highly tear-resistant, ensuring it remains intact during installation or under harsh conditions. It also includes UV protection, allowing it to withstand temporary exposure to sunlight without compromising its integrity. Because it is lightweight and easy to handle, synthetic underlayment simplifies the installation process for roofing professionals. This option works particularly well for homes in areas with extreme weather, such as high winds or intense heat, and is well-suited for roofing styles like metal or tile.
3. Rubberized Asphalt
Rubberized asphalt is regarded as the premium choice in roofing underlayment, offering unmatched water resistance and protection. This high-end material provides a completely waterproof barrier, making it an excellent option for homes in regions with severe weather conditions, including heavy snow, ice, and rainfall. One of the standout features of rubberized asphalt is its self-sealing properties, often enabled by a peel-and-stick application process that ensures a secure and seamless installation. This type of underlayment is specifically designed to handle the challenges of cold climates, where ice dams and heavy snowfall can create significant roofing concerns. In addition to its waterproof qualities, rubberized asphalt delivers superior protection against leaks, making it an essential choice for homeowners seeking maximum reliability and performance.
🛠️ How to Install Roof Underlayment
Installing roof underlayment requires precision, proper tools, and knowledge of best practices. Here’s a step-by-step guide to the general installation process:
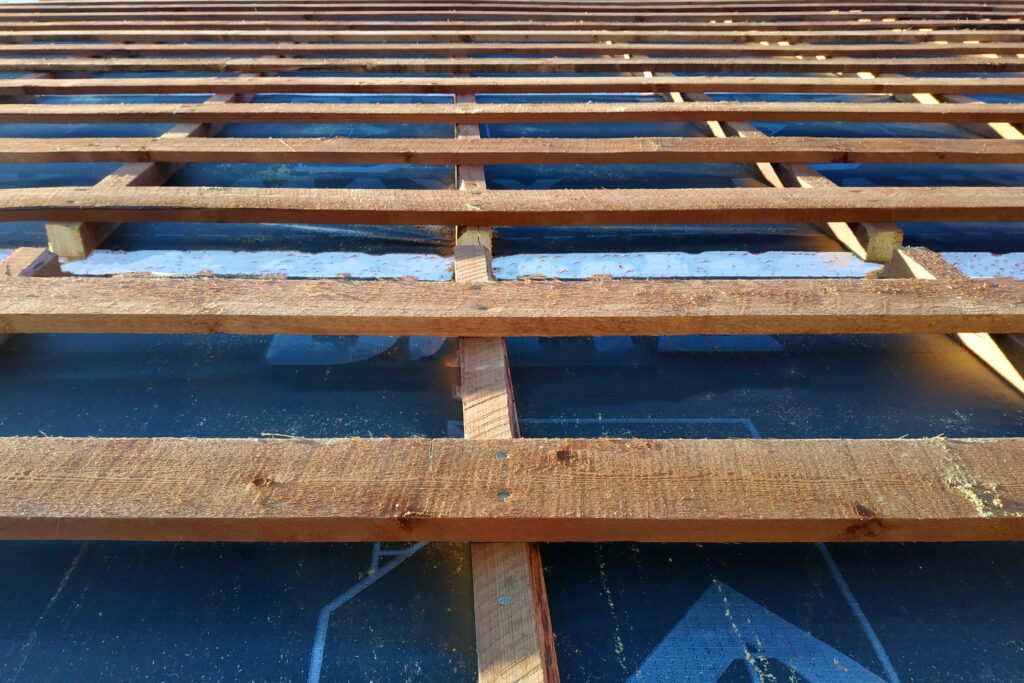
Step 1. Prepare the Roof Deck
Begin by ensuring the roof decking is in the best condition possible before starting the installation process. Check that the deck is completely clean, dry, and free from any debris that could interfere with the underlayment. Sweep off dirt, leaves, or any other particles that might have accumulated. Inspect the decking thoroughly for any signs of damage, such as rotting wood, cracks, or uneven areas, and make any necessary repairs to create a smooth and secure surface. A solid foundation is essential for a proper and long-lasting underlayment installation.
Step 2. Choose the Right Underlayment
Choosing the right underlayment is a critical step that can affect the durability and performance of your roof. Consider the specific needs of your home, including the local climate, the type of roofing material you will use, and your budget. For example, in areas with heavy rain or snow, you may need a waterproof underlayment, while regions with hotter climates might benefit from heat-resistant materials. Research the different types of underlayment available, such as felt paper or synthetic options, and consult with professionals if needed to find the best match for your home.
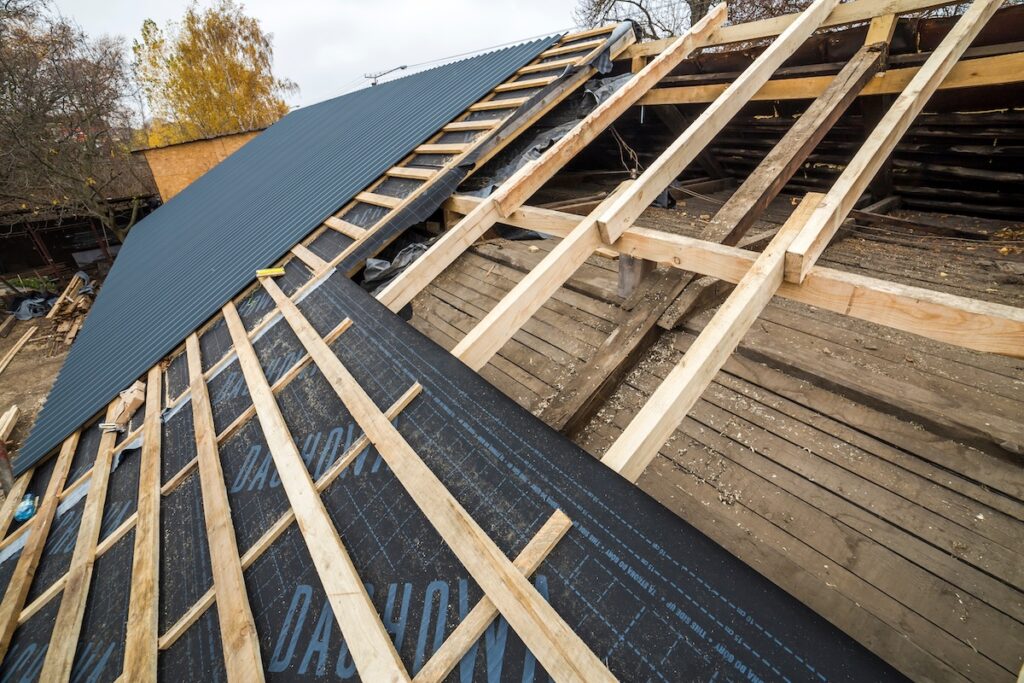
Step 3. Start at the Eaves
When installing the underlayment, always begin at the eaves, which is the edge of the roof where it meets the gutters. Roll out the underlayment horizontally across the roof, starting at the lowest point and working your way upward. This approach ensures proper overlapping as you move towards the peak of the roof, providing maximum protection against water infiltration. As you unroll the material, make sure it lies flat and aligns evenly to cover the roof completely. Taking care with the initial placement will make the rest of the installation process much smoother.
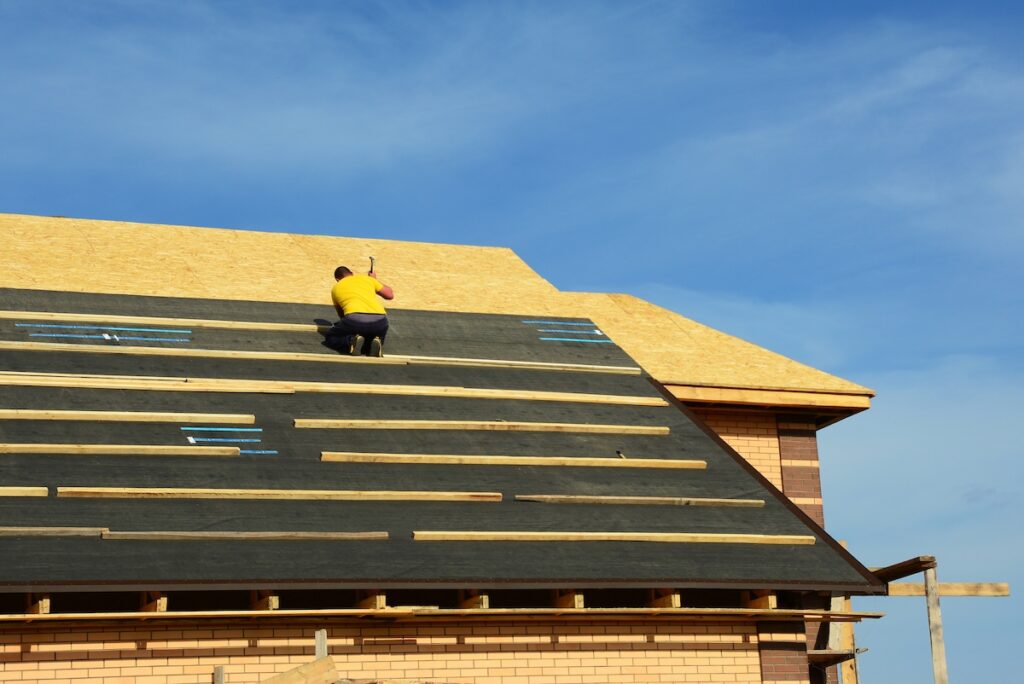
Step 4. Secure with Fasteners
Once the underlayment is in place, secure it firmly to the roof deck using fasteners. Depending on the type of underlayment you are using, the manufacturer’s instructions will specify the best method for securing it. This may involve roofing nails, staples, or adhesives. Fasten the material at regular intervals to ensure it stays tight against the roof and does not shift or create wrinkles. Properly securing the underlayment is crucial to maintain its integrity and to prepare the surface for the installation of shingles or other roofing materials.
Step 5. Overlap Properly
When laying down additional rows of underlayment, it is essential to overlap each row by 2 to 4 inches. Overlapping prevents water or moisture from seeping through gaps and ensures a watertight barrier across the entire roof surface. Carefully align each new row to maintain consistency and avoid misalignments that could leave parts of the roof exposed. Double-check that every overlap is even and secure, as this step plays a significant role in the overall effectiveness of the roof underlayment.
Step 6. Inspect the Installation
Before proceeding with the next stages of the roofing process, take the time to thoroughly inspect the underlayment installation. Walk along the roof and check for any loose areas, wrinkles, or tears that may have occurred during the process. If you find any issues, repair or replace the affected sections immediately to ensure a flawless surface. A careful inspection at this stage will help prevent problems later on, such as leaks or damage to the outer roofing materials. Once you are satisfied that the underlayment is installed correctly, you can move on to laying shingles or other protective coverings.
🏠 Roof Underlayment Guide
When it comes to roof underlayment and creating a secure, durable roofing system, you can trust the team at Certified Roofing Solutions to deliver exceptional results. With our expertise, commitment to quality, and customer-first approach, we ensure your roof not only protects your home but provides lasting peace of mind.
Don’t leave your roofing needs to chance—reach out to us today for a consultation and experience the Certified Roofing Solutions difference. Contact us now to get started!