Roof Sheathing (Types, Installation & More)
Posted March 14th, 2025 | 9 min. Read
When it comes to protecting your home, the roof is one of the most critical components, and roof sheathing plays a starring role in its durability and functionality. But what exactly is roof sheathing, and why is it so important? Whether you’re building a new home or replacing an old roof, this guide dives deep into everything you need to know about roof sheathing, from its types to installation tips. Here’s what you’ll learn:
- What is roof sheathing, and why is it essential?
- How to install roof sheathing (Step-by-step guide)
- Common mistakes and best practices with roof sheathing
🤔 What is Roof Sheathing, and Why is it Essential?
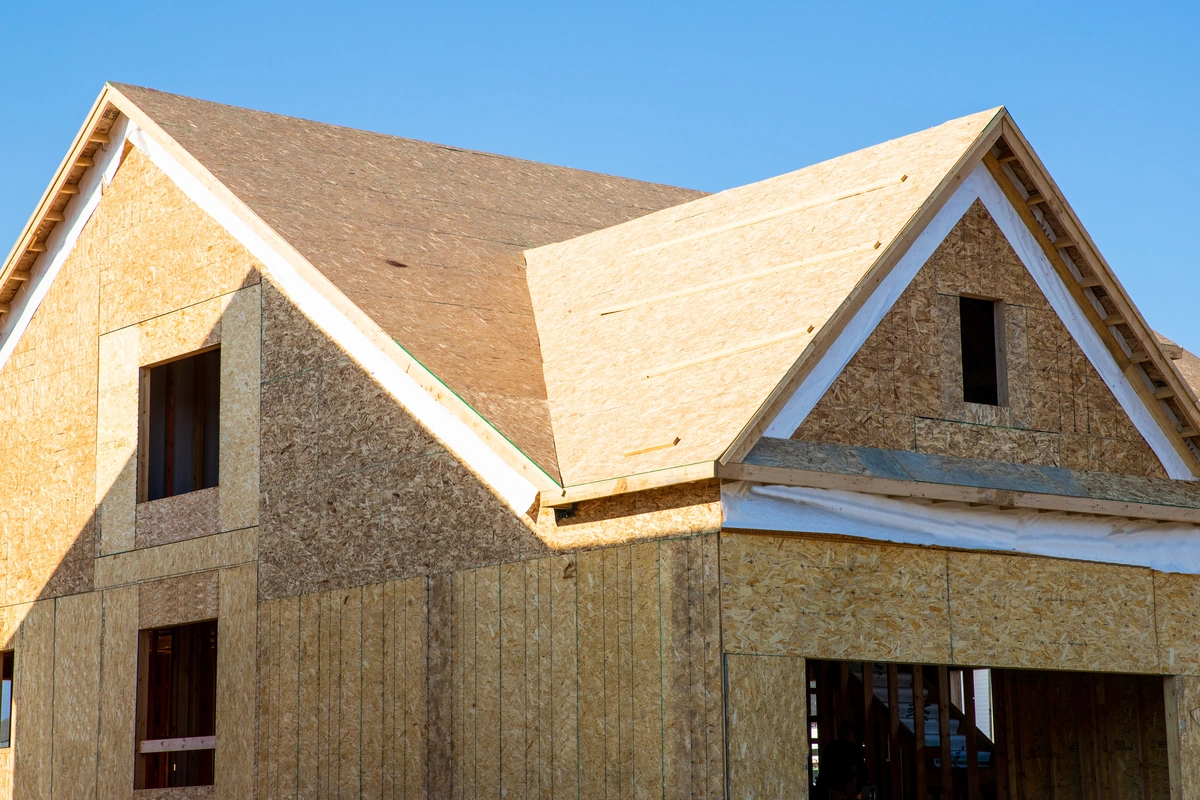
Roof sheathing refers to the flat panels or boards attached to your roof’s framework, providing a sturdy base for roofing materials such as shingles, tiles, or metal. Not only does it add structural integrity to your roof, but it also ensures effective weight distribution and weather protection. Without proper sheathing, your roof’s strength and resilience could be compromised.
Types of Roof Sheathing Materials
Choosing the right roof sheathing material depends on your budget, location, and roofing needs. Here are the most common options:
- Plywood: Strong and durable, made from wood veneer layers. Ideal for homes with asphalt shingles or metal roofing. Mid-range cost, long-lasting with proper maintenance.
- Oriented Strand Board (OSB): Budget-friendly option made by compressing wood strands. Smooth surface, performs well but can swell with long-term moisture exposure. Affordable choice for general roofing projects.
- Huber ZIP System: Combines structure and water resistance with a built-in weather barrier. Perfect for homes in areas with heavy rainfall or snow. Premium-priced but excellent against moisture and extreme weather.
- Solid Board Sheathing: Solid wood planks offering a rustic look, typically used in older or custom homes with exposed rooflines. Strong but prone to moisture warping, with higher costs.
✅ 6 Steps How to Install Roof Sheathing
Installing roof sheathing requires precision to ensure your roof is stable and weatherproof. Here’s a simple guide for homeowners.
1. Gather Materials and Tools
Before starting your roof sheathing project, it’s crucial to gather all the necessary materials and tools to ensure a smooth and efficient process. The primary material you’ll need is plywood or OSB (oriented strand board) panels, which serve as the sheathing and provide the structural base for your roof. Be sure to choose high-quality panels that are designed for roof applications to withstand weather and wear over time.
For tools, you’ll need a circular saw to accurately cut the panels to size. Invest in a sharp blade to make clean and precise cuts, as this will prevent splintering or damaging the material. A chalk line is essential for marking straight and accurate lines on the panels, ensuring that the panels are positioned and fastened correctly. Additionally, you’ll need nails or screws to secure the sheathing to the roof framework. Choose corrosion-resistant fasteners that are appropriate for outdoor use and provide a secure hold.
Having all these materials and tools ready beforehand will save you time and prevent interruptions once you start the installation process. It’s also a good idea to double-check that you have safety gear, such as gloves, safety glasses, and sturdy footwear, to protect yourself during the project. Being fully prepared will help ensure a smooth workflow and a successful outcome.
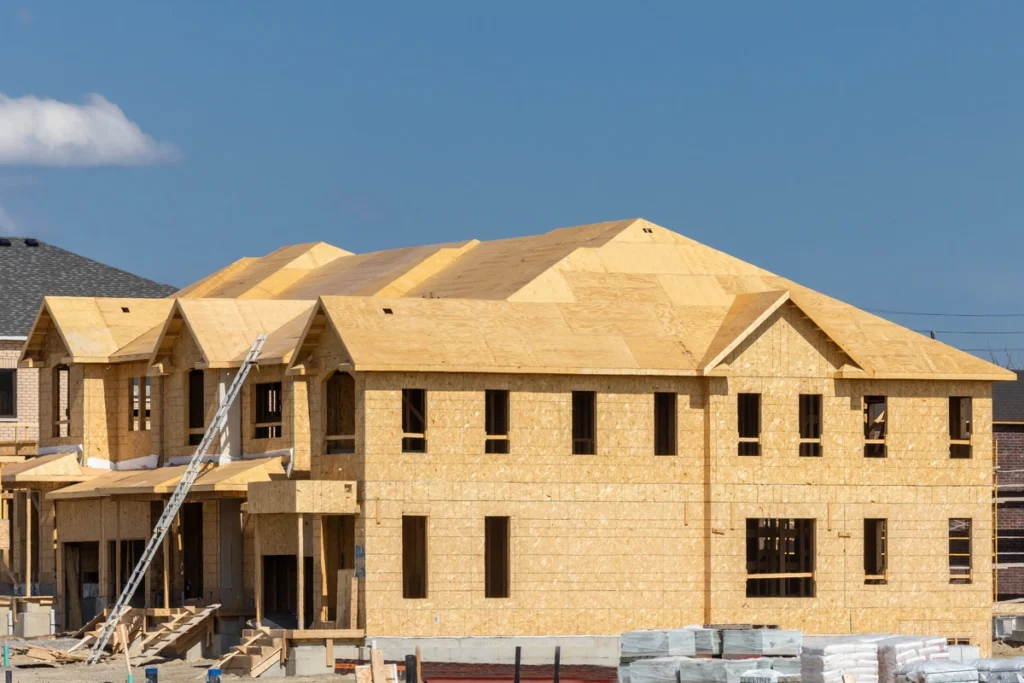
2. Prepare the Framework
The framework of your roof is the foundation for your sheathing, so it’s important to take time to prepare it properly. Start by inspecting the roof frame thoroughly to identify any potential issues that could affect the installation of the sheathing. Look for debris, dirt, or any previous materials that need to be cleaned away, such as old nails, splinters, or leftover adhesive. Removing these elements will create a smooth surface for the sheathing to sit on.
Next, check the structural integrity of the framework by looking for signs of weakness, such as cracks, warping, or loose connections. If you find any damage, make the necessary repairs or replacements before proceeding. Neglecting to address these issues could lead to problems later, such as uneven sheathing or compromised durability.
Once everything is clean and sturdy, measure and ensure that the framework is square and aligned properly. A well-prepared roof frame will make the installation process easier and help your sheathing perform better in the long run. This preparation step is crucial for creating a solid base that supports the entire roof system, so don’t rush through it.
3. Position and Mark Panels
Properly positioning and marking the sheathing panels is a key step in achieving a uniform and secure roof. Start at one corner of the roof, typically at the lower edge near the eaves, and place the first panel carefully. Align the edges of the panel with the roof’s framework, ensuring it sits flush and square. This first panel is critical to the success of the entire project, as the alignment will dictate the placement of all subsequent panels.
Use a chalk line to mark clear and accurate lines across the panel to create a nailing pattern. This pattern will guide you when fastening the panel, ensuring that the nails or screws are evenly spaced and securely attached to the underlying framework. It’s important to take your time during this step to avoid misalignment, which can lead to gaps or uneven coverage.
To prevent issues caused by expansion due to changes in temperature and humidity, leave a small gap—about 1/8 inch—between each panel. This gap allows the panels to expand and contract naturally without warping or buckling. Proper spacing is essential to maintaining the structural integrity of the sheathing and preventing long-term damage.
4. Fasten Panels
With the panels positioned correctly, it’s time to secure them to the roof framework. Use nails or screws to fasten the panels, and make sure you’re attaching them to the trusses or rafters underneath for maximum stability. Evenly space the fasteners according to the manufacturer’s recommendations, typically every 6 to 8 inches along the edges and 12 inches in the center of the panel. This spacing ensures a secure hold and prevents the panels from shifting over time.
When fastening the panels, take care not to overdrive the nails or screws, as this can damage the material and compromise its strength. The fastener heads should sit flush with the surface of the panel without creating indentations or cracks. Proper fastening technique is essential to the overall durability of the roof sheathing.
Check each panel after fastening to ensure it is securely attached and sits flat against the framework. If you notice any gaps or unevenness, adjust the placement or add additional fasteners as needed. A thorough and precise fastening process will help create a strong and stable roof sheathing that can withstand the elements.
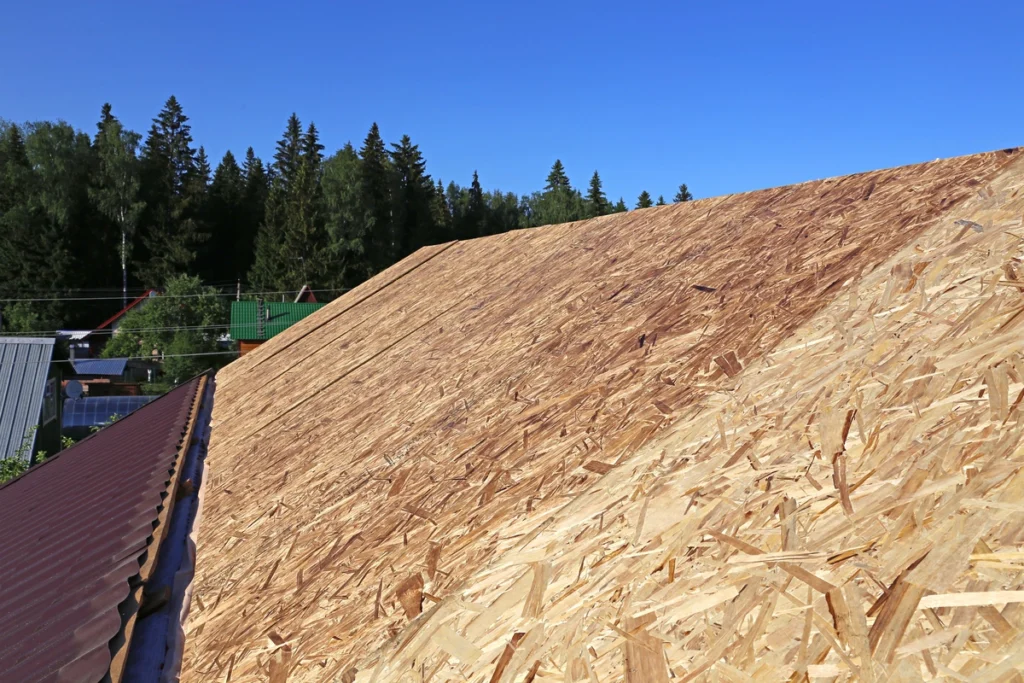
5. Add Additional Layers
Once the first row of panels is in place, continue adding additional rows, working your way up the roof. Overlap the edges of the rows slightly to ensure proper coverage and create a tight seal that protects against water infiltration. Maintaining a consistent overlap and alignment throughout the process is critical to the performance of the roof sheathing.
As you add each new layer, double-check the spacing between panels to allow for expansion. This consistency will prevent issues with warping or buckling later on. Take your time to align each panel carefully, as even small misalignments can create problems when installing roofing materials like shingles or metal panels.
It’s also important to periodically inspect your work as you progress. Look for any gaps, loose fasteners, or misaligned panels and make adjustments as needed. Taking the time to ensure each layer is installed properly will save you from having to redo work later and will contribute to the overall quality of the roof.
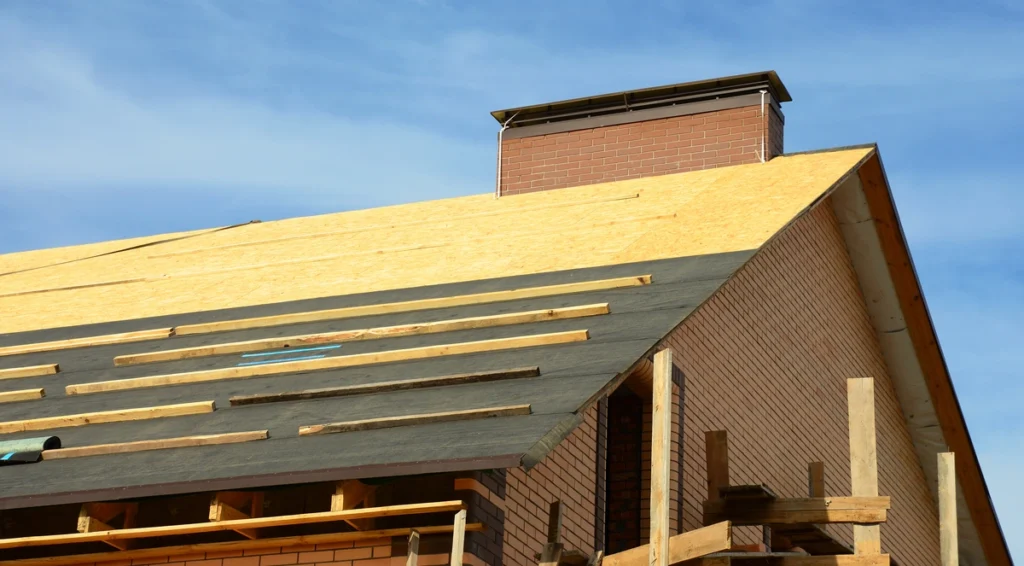
6. Inspect and Seal
After all the panels are installed, conduct a thorough inspection of the roof sheathing to ensure everything is secure and aligned properly. Pay special attention to the seams between the panels, as these are common areas where water can seep in if not sealed correctly. Look for any gaps, splintered edges, or weak points that could compromise the roof’s performance.
To enhance the durability and weather resistance of the roof, apply a sealing material, such as weatherproof tape or a waterproof barrier, along the seams and edges of the panels. This step is essential for preventing water infiltration and protecting the roof from moisture damage over time.
Lastly, inspect the fasteners to ensure they are properly seated and there are no protruding nails or screws that could interfere with the roofing materials. Address any issues you find during the inspection to ensure the roof sheathing is in top condition before moving on to the next stage of your roofing project. A well-inspected and sealed roof sheathing will provide a strong foundation for your entire roof system and ensure its longevity.
👉 Common Mistakes and Best Practices with Roof Sheathing
Mistakes during roof sheathing can lead to problems like leaks, sagging roofs, or poor insulation. Here are tips to prevent errors and ensure a strong, durable roof.
Common Mistakes
Improper panel gaps are a frequent issue during installation. Without leaving enough room for expansion, panels can warp or buckle over time due to changes in temperature and humidity. Another common mistake is skipping nails or screws or not using enough fasteners. This oversight can compromise the structural integrity of the installation, leading to instability and potential damage. Additionally, ignoring moisture control is a significant problem. Failing to include proper moisture barriers or neglecting drainage planning can cause water buildup, which may eventually lead to rotting wood and other long-term damages.
Best Practices
To ensure a successful installation, it is crucial to use high-quality materials, as they provide better durability and long-term performance. Panels should also be coated or treated for moisture resistance to prevent damage from water exposure and maintain their integrity over time. Lastly, always adhere to local building codes, as these regulations specify important details such as the required panel thickness and proper installation methods, ensuring safety and compliance.
🏠 Roof Sheathing Guide
When it comes to roof sheathing, cutting corners is not an option. The safety, durability, and longevity of your home depend on expert installation and quality materials. At Certified Roofing Solutions, we combine years of experience, premium materials, and a dedication to customer satisfaction to deliver roofing solutions you can trust.
Let us handle the hard work so you can have peace of mind knowing your roof is built to last. Contact us today for a free consultation and see why homeowners rely on Certified Roofing Solutions for all their roofing needs!