Roof Leak Repair Guide: Fixing Pesky Roof Leaks
Posted December 13th, 2024 | 7 min. Read
A leaking roof can cause serious headaches for homeowners. Left unchecked, even a minor leak can lead to costly repairs, mold growth, and structural damage. But don’t worry—fixing a roof leak isn’t as intimidating as it seems. This guide helps you tackle roof leaks head-on. Here’s what we’ll cover:
- Signs you have a roof leak
- Common causes of roof leaks
- Tools & materials you need for roof leak repair
- 6 steps to fix a roof leak
⚠️ Signs You Have a Roof Leak
Not every leaky roof is obvious. Some are subtle, gradual, and only noticeable once significant damage has occurred. Watch for these signs to catch a problem early:
Interior Signs
- Ceiling Stains: Yellow or brown water stains on your ceiling usually indicate a slow leak.
- Dripping Water: Spotting water trickling inside your home is a clear sign of trouble.
- Peeling Paint: Excess moisture can cause indoor paint to blister or peel.
- Mold or Mildew: Persistent leaks can create the perfect environment for mold growth inside walls or ceilings.
Exterior Signs
- Missing Shingles: Gaps on your roof’s surface can allow water to seep through.
- Blocked Gutters: Clogged gutters often lead to water backing up onto the roof.
- Sagging Roof Sections: A sagging area may indicate trapped water from a long-term leak.
If you notice any of these, it’s essential to address them quickly before they worsen.
👉 Common Causes of Roof Leaks
Understanding the source of your roof leak is half the battle. Here are the usual suspects:
Damaged or Missing Shingles:
Strong winds and heavy rain can dislodge or break shingles, exposing the vulnerable layers beneath. When shingles are damaged or missing, the underlayment and roof deck become susceptible to water infiltration. This compromise in the roof’s protective barrier can lead to significant water damage inside the house, affecting the interior walls and ceiling.
Cracked Flashing:
Flashing seals the edges around chimneys, vents, and skylights. When it’s cracked or corroded, water can leak through. Flashing is crucial for directing water away from seams and joints on the roof. Over time, exposure to the elements can cause flashing to crack or rust, creating gaps that allow water to seep in. This can lead to moisture build-up and damage to the structural integrity of the roof and nearby areas.
Age-Related Wear and Tear:
Older roofs often develop leaks as materials deteriorate over time. As roofs age, the materials used can become brittle and less effective at keeping water out. The natural expansion and contraction caused by temperature changes can also cause materials to warp or crack. Regular maintenance and inspections can help catch age-related issues before they result in leaks.
Improper Roof Installation:
Poor workmanship during installation can lead to weak spots or poor water flow areas. If a roof is not installed correctly, it can result in uneven surfaces where water can pool, increasing the risk of leaks. Substandard installation can also leave parts of the roof without adequate coverage or protection, eventually leading to water penetration and damage.
Clogged Gutters:
When water has nowhere to drain, it pools on your roof, increasing the risk of leaks. Clogged gutters prevent rainwater from draining properly, causing it to overflow or back up onto the roof. This stagnant water can seep under shingles or other roofing materials, leading to leaks. Regularly cleaning gutters ensures proper water flow and reduces the risk of roof damage.
Storm Damage:
Hail, falling branches, and hurricanes can cause instant damage to your roof. Severe weather events can cause immediate and significant damage to roofing structures. Hail can puncture roofing materials, while strong winds and falling debris can tear shingles or cause structural shifts. Prompt inspection and repair after storms can prevent further leakage or damage.
🧰 Tools & Materials You Need for Roof Leak Repair
If you’re planning to tackle the roof repair yourself, gather these essentials before you start:
- Roofing nails
- Roofing tar or sealant
- Replacement shingles or patch kits
- A ladder
- Hammer and pry bar
- Roofing tape
- Protective gloves and goggles
Having the right tools ensures the job gets done faster and safer.
🛠️ 6 Steps to Fix a Roof Leak
Fixing a roof leak doesn’t have to be overwhelming. Follow these steps for effective roof repairs.
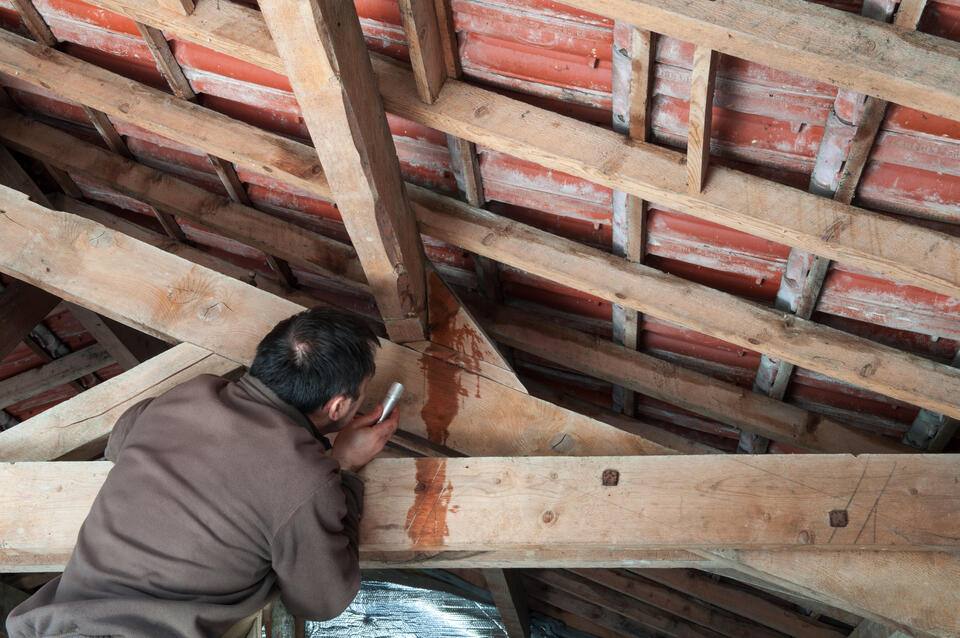
1. Locate the Leak
Start by identifying the source. This can be tricky as water can travel along structures before becoming visible. Begin your search in the attic, where you can often see water stains or signs of damage. Use a flashlight to examine the underside of the roof. Outside, inspect the roof for any shingles that are curled, cracked, or missing. Don’t forget to check around roof penetrations—areas where there are pipes, chimneys, or vents—as these are common culprits for leaks.
2. Clear the Area
Remove debris, leaves, or anything blocking your inspection. This is an important step because accumulated debris can trap moisture, which can exacerbate existing leaks or create new ones. Clearing the roof surface also ensures you have a clear view of the damaged areas, making it easier to pinpoint the exact location of leaks. Use a broom or a leaf blower to clear the debris, but be careful to avoid damaging the shingles.
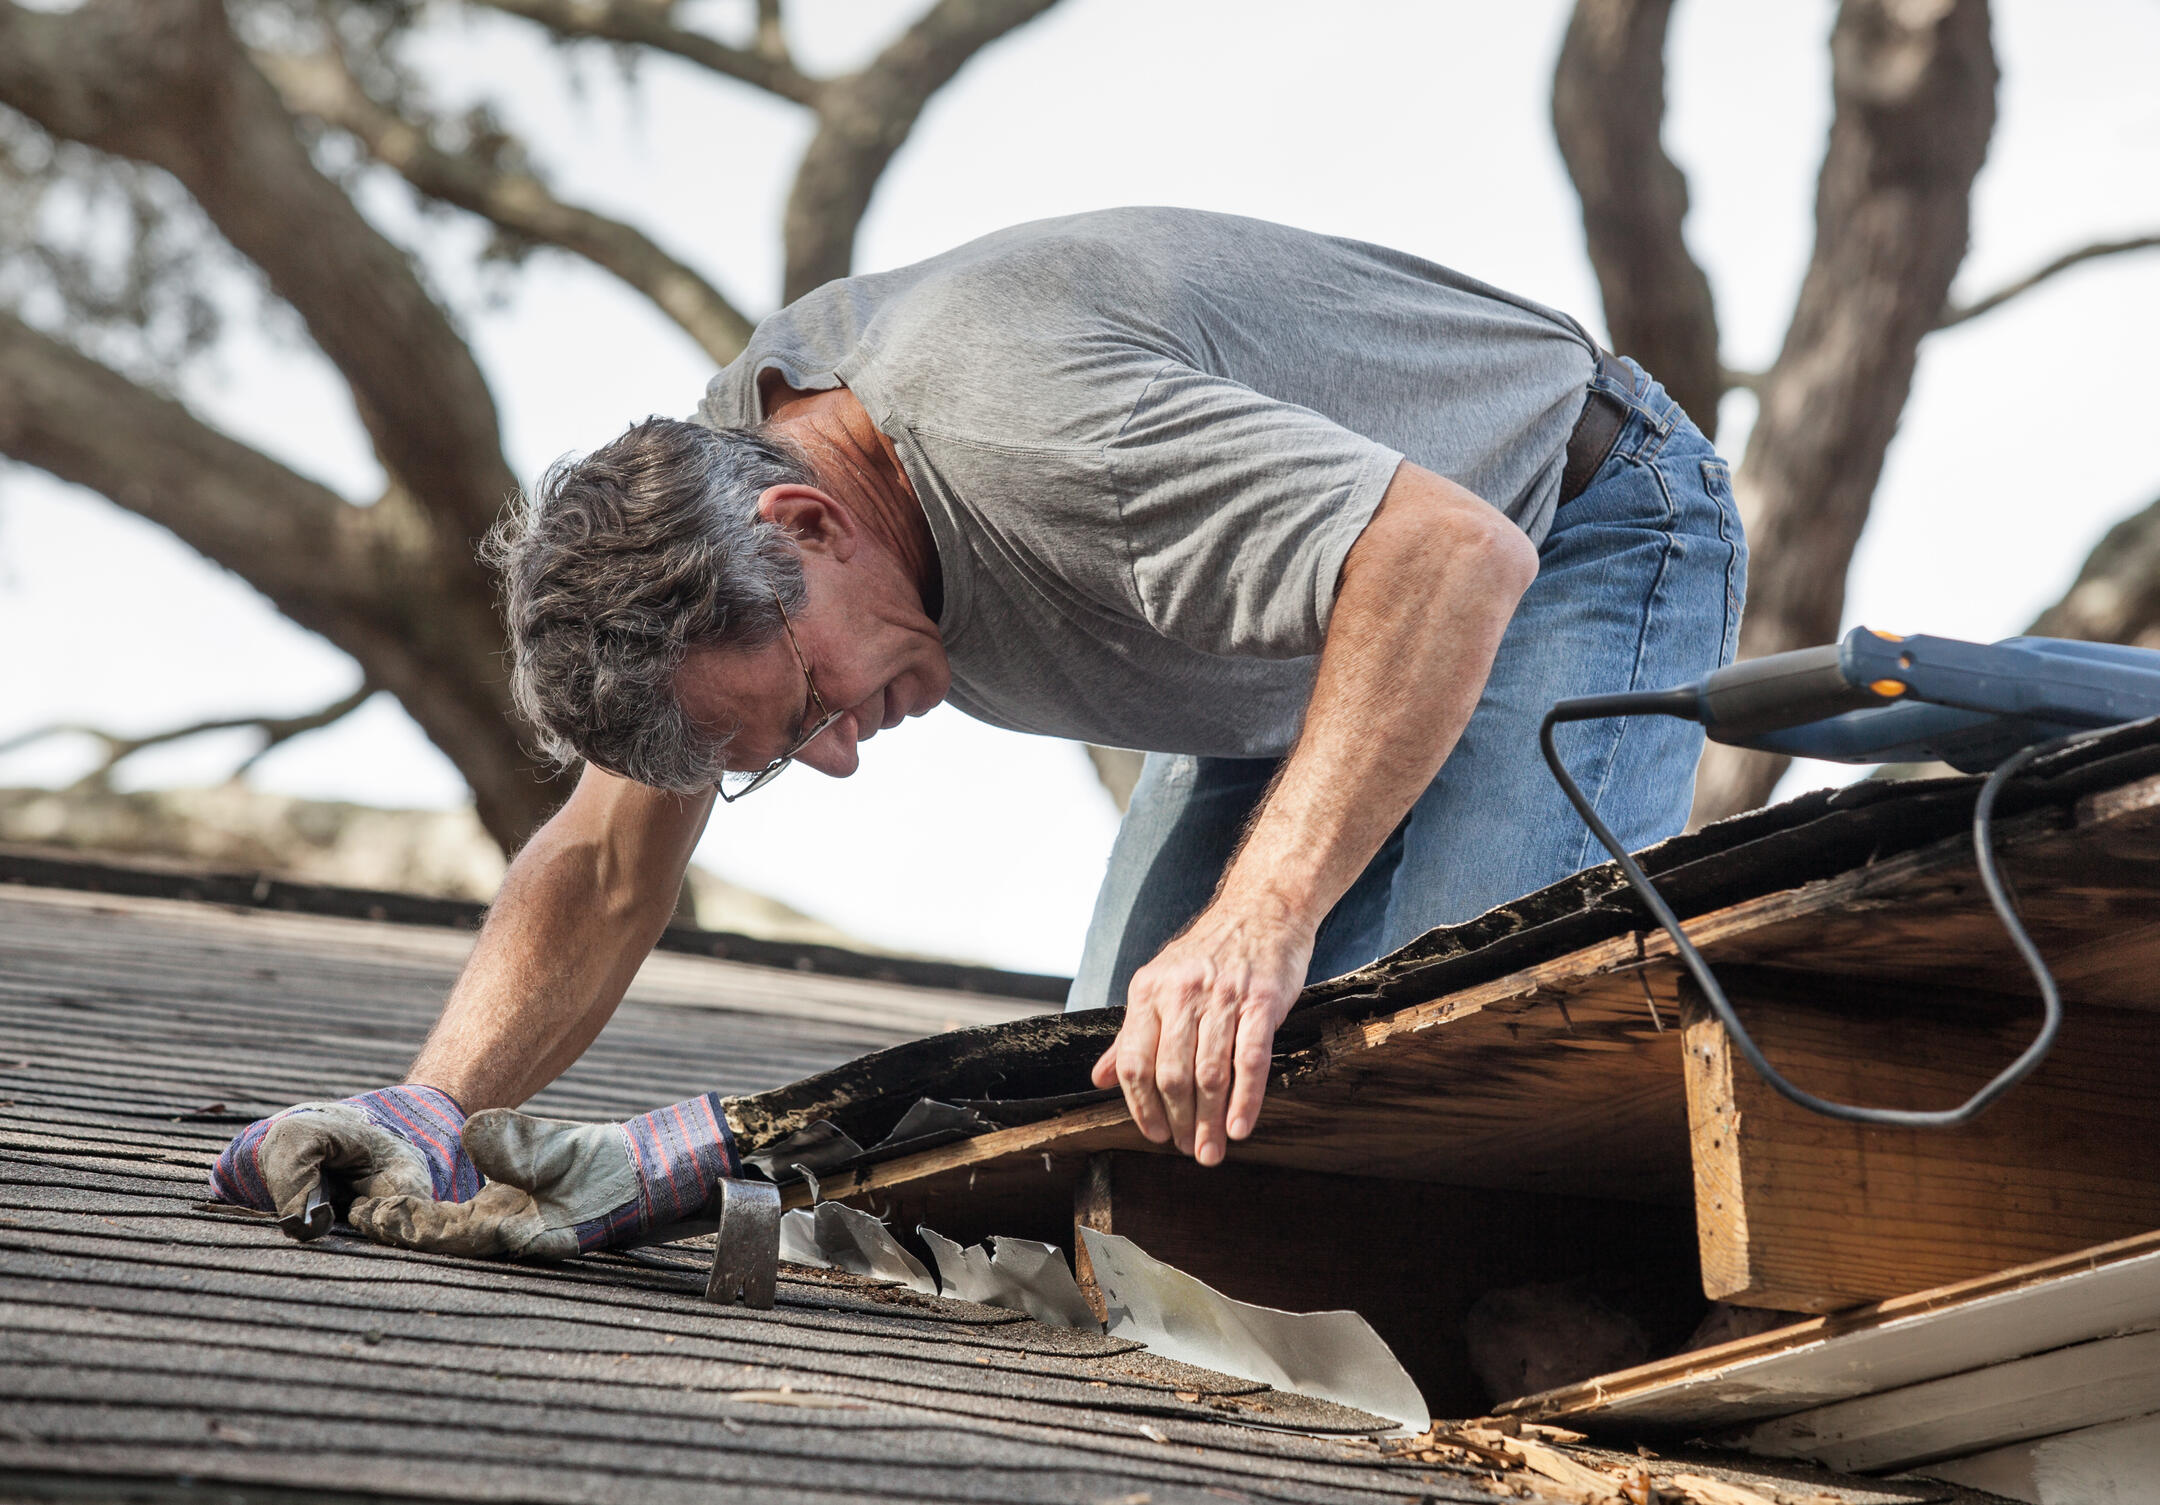
3. Assess Damage
Examine shingles, flashing, and other roofing components. Look for any signs of wear and tear, such as cracks, gaps, or missing or damaged shingles that could be causing the leak. It’s crucial to assess the extent of the damage accurately, as this will determine whether you can make a simple repair or if more extensive work is needed. Pay special attention to the condition of the flashing around chimneys, skylights, and vents, as these areas are particularly susceptible to leaks.
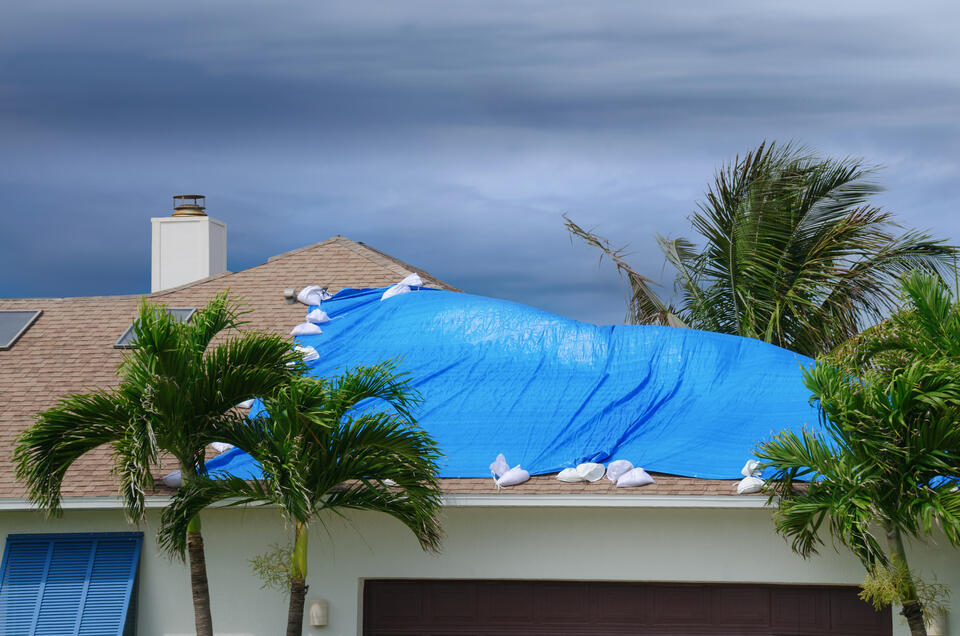
4. Apply Temporary Fixes
If rain is imminent, use tarps or roofing tape to prevent water from entering temporarily while you gather repair supplies. Temporary fixes can include placing a tarp over the leaking area and securing it with nails or screws at the corners. Make sure the tarp extends several feet beyond the damaged area to fully cover it. Roofing tape can be used to seal small cracks or holes until you can apply a more permanent solution.
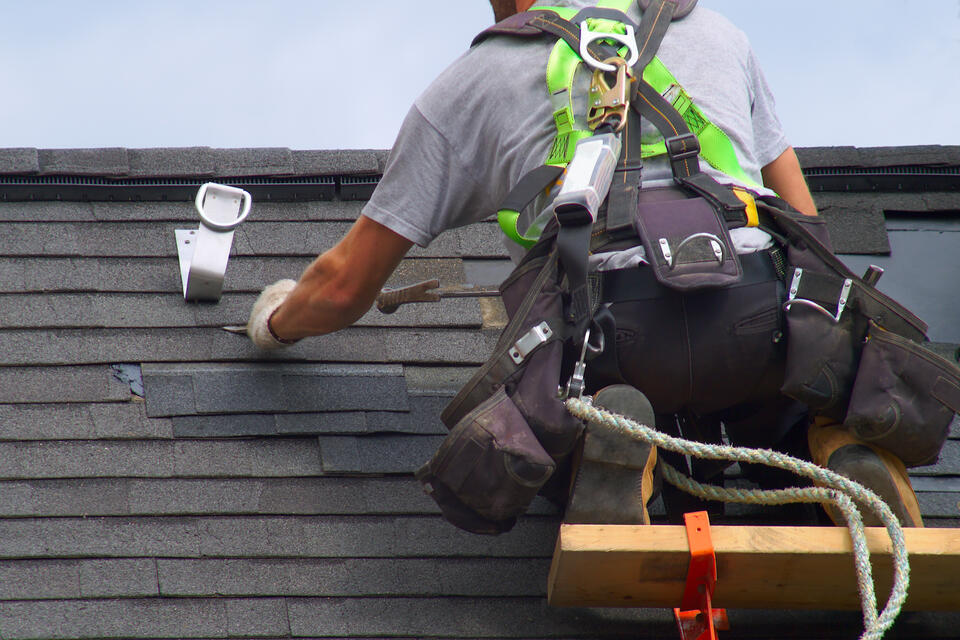
5. Repair or Replace Damaged Material
- For Shingles: Remove the damaged piece with a pry bar, replace it with a new one, and secure it with nails. Ensure that the new shingle overlaps the existing ones to maintain the integrity of the roof. Use roofing cement to seal the edges of the new shingle.
- For Flashing: Patch cracks using roofing tar or replace the flashing entirely if it’s beyond repair. Installing new flashing involves cutting a piece to fit, securing it with roofing nails, and sealing the edges with roofing tar to prevent water intrusion.
- For Small Holes: Fill gaps with roofing sealant, ensuring it’s watertight. Apply the sealant generously and smooth it out with a putty knife to ensure it covers the damaged area completely.
6. Test Your Repair
Pour water over the repaired section and wait for signs of leaks inside the home. This step is crucial to confirm that your repair has been successful. Use a hose to simulate rainfall, starting from the bottom of the roof and working your way up to ensure thorough coverage. Check the interior of your home for any signs of moisture or leaks. If it remains dry, your repair has likely been successful, and you can rest easy knowing your home is protected from future leaks. If you still notice leaks, it may be necessary to re-evaluate your repair or consider professional assistance.
🙌 Expert Roof Leak Solutions with Certified Roofing Solutions
Addressing a roof leak promptly and efficiently is crucial for safeguarding your home against extensive damage and costly repairs. At Certified Roofing Solutions, we pride ourselves on delivering top-notch services that ensure your roof remains in optimal condition. Our team of experienced professionals uses only high-quality materials and cutting-edge techniques to fix and prevent leaks, providing peace of mind and long-lasting results. Trust us to handle your roofing challenges with expertise and reliability. Don’t wait for a small problem to become a big issue—contact Certified Roofing Solutions today for a free consultation and take the first step toward protecting your home.