What Is Roll Roofing? Cost, Lifespan & Installation Tips
Posted June 5th, 2025 | 7 min. Read
If you’re considering a durable, straightforward roofing option, roll roofing might be the solution you’re looking for. Roll roofing is an affordable material well-suited for low-slope roofs, offering easy installation and decent coverage. This post will guide you through everything you need to know about roll roofing, including:
- An introduction to roll roofing and how it works
- A step-by-step guide for installing roll roofing
- Tips for maintaining roll roofing to ensure longevity
🤔 What Is Roll Roofing?

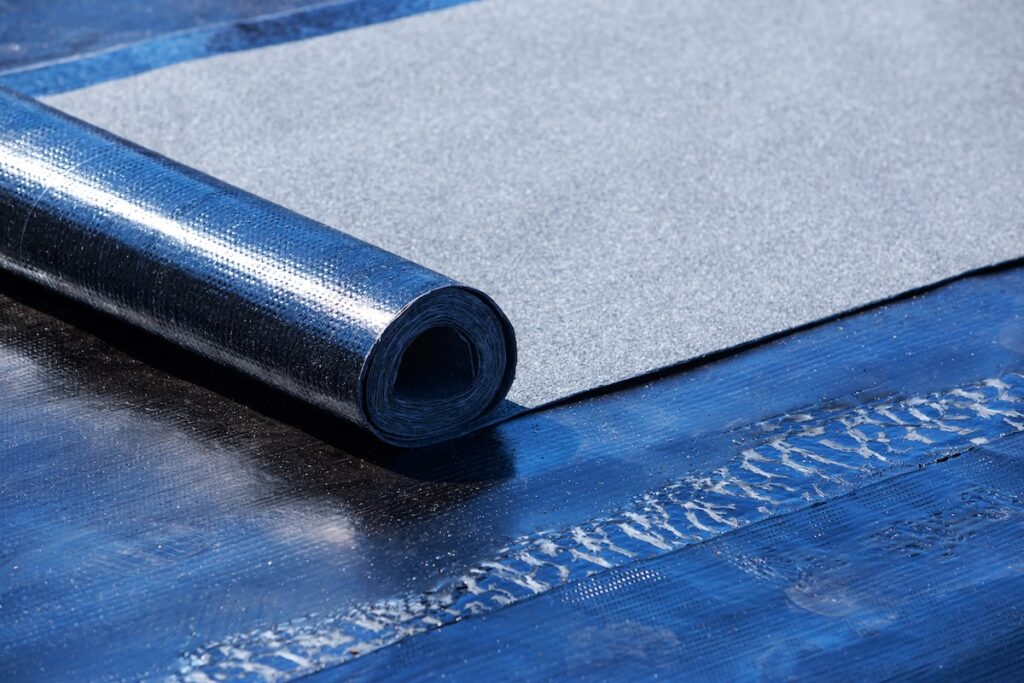
Roll roofing is a popular roofing material made of asphalt, often reinforced with fiberglass or organic felt for durability. It’s sold in long rolls (typically 36 inches wide and up to 36 feet long) and is designed for fast and easy installation. Commonly used for low-slope roofs or small projects like sheds and garages, roll roofing presents a cost-effective, lightweight alternative to traditional shingles.
How Much Does Roll Roofing Cost?
One of the biggest perks of roll roofing is its affordability. On average, roll roofing costs $1.50 to $2.50 per square foot, depending on the quality of materials. Here’s a quick breakdown:
- Material Cost: A roll of roofing material typically costs $30–$100, enough to cover 100 square feet.
- Installation Cost: Professional installation adds $1.50–$3.00 per square foot, depending on the complexity of the project.
✅ 7 Step Guide to Installing Roll Roofing

Installing roll roofing can be a straightforward DIY project for smaller buildings. Follow these steps for a successful installation:
1. Gather Your Tools and Materials
Before you begin, gather everything you’ll need for the job. Proper preparation ensures a smoother, more efficient process. Here’s what you’ll need:
- Roll roofing: The primary material you’ll be working with, which comes in large rolls for easy application.
- Roofing nails: These are specialized nails designed to secure roofing materials firmly in place.
- Roofing cement: A key adhesive to create a watertight bond and seal seams.
- Utility knife: Essential for cutting the roll roofing into precise sections.
- Measuring tape: To ensure accurate measurements of your roof and materials.
- Broom or leaf blower: Used to clean the roof and remove any debris before installation.
Having all your tools ready before starting will save time and prevent interruptions mid-project.
2. Prepare the Roof
Proper preparation of the roof is critical for a durable and secure installation. Start by thoroughly cleaning the roof surface using a broom or leaf blower to remove dirt, leaves, and debris. Any unevenness, moisture, or debris could compromise the roof’s integrity and the effectiveness of the roll roofing.
If your roof has significant imperfections or you live in an area prone to harsh weather, consider adding a roofing underlayment. This protective layer enhances durability by providing extra support and reducing the risk of leaks. Ensure the roof is completely dry and smooth before moving to the next step.
3. Measure and Cut the Roll Roofing
Accurate measurements are key to avoiding waste or misaligned sections. Use the measuring tape to determine the dimensions of your roof and calculate how much roll roofing you’ll need. Always allow for extra material to overlap the edges and seams.
Once you’ve measured, use a utility knife to cut the roll roofing into manageable sections. This makes it easier to handle and ensures each piece is the right size. Remember to keep the edges straight to prevent gaps or uneven overlaps during installation.
4. Apply Roofing Cement
Roofing cement acts as a base layer that anchors the roll roofing to the roof, creating a strong bond and watertight seal. Using a trowel or similar tool, spread a generous layer of roofing cement along the edges of the roof where the roll roofing will be placed.
Ensure the cement is applied evenly to avoid gaps or weak points. This step is crucial for preventing water from seeping underneath the roofing material, which could cause damage over time.
5. Lay the Roll Roofing
Now it’s time to install the roll roofing. Start at the bottom edge of the roof and work your way upward. This ensures that water flows downward over the seams, rather than seeping under them.
Unroll the first section of roofing material, aligning it carefully along the edge. Make sure it lies flat without any wrinkles or bubbles. Once positioned, secure it with roofing nails along the top edge. Space the nails about 6 inches apart to provide adequate support while allowing some flexibility.
6. Overlap Each Row
To ensure proper water drainage and a secure fit, each row of roll roofing should overlap the one below it. Generally, a 2-4 inch overlap works well, but always refer to the manufacturer’s guidelines for specific recommendations.
Lay each subsequent row carefully, aligning it with the edge of the previous row. The overlap creates a barrier that helps channel rainwater away from the roof, reducing the risk of leaks or damage.
7. Seal the Edges
The final step is sealing the seams and edges to create a watertight finish. Use roofing cement to seal along the seams where each row overlaps, as well as along the edges of the roof.
Apply the cement generously, ensuring full coverage to prevent any gaps where water could seep through. Smooth the cement with a trowel for an even finish. Once sealed, allow the cement to dry and cure according to the manufacturer’s instructions for the best results.
By following these steps carefully, you’ll have a durable, well-sealed roll roofing installation that can stand up to the elements.
🛠️ 5 Maintenance Tips for Roll Roofing
Regular care can help extend the lifespan of your roll roofing. Here are five tips:
Clear Debris
Start by sweeping off leaves, dirt, and any other debris that may have accumulated on your roof. This step is crucial for preventing mold, mildew, and general roof degradation. A clean roof not only looks better but also ensures better durability over time.
Inspect for Damage
After heavy storms or strong winds, take the time to inspect your roof for visible damage. Look for cracks, punctures, tears, or any other signs of wear and tear that could compromise its integrity. Catching these issues early can save you from costly repairs down the line.
Reapply Roofing Cement
Check for edges or gaps in your roofing material and reseal them with roofing cement as needed. This step helps to prevent water from seeping into your roof structure, which can lead to leaks and long-term damage. Regular maintenance of these seals is essential for keeping your roof in top condition.
Check for Water Pooling
Water pooling on your roof can lead to major issues, including leaks and structural weakening. Identify areas where water collects and address them promptly, either by adjusting the roof’s slope or contacting a professional to fix drainage issues.
Schedule Professional Inspections
While DIY maintenance is important, it’s wise to periodically hire a professional roofer to conduct a thorough inspection. They have the expertise to spot problems that might not be immediately visible and can provide solutions to extend the life of your roof. Regular professional check-ups ensure your roof stays in great shape for years to come.
🏠 Your Roll Roofing Guide
In conclusion, roll roofing is an excellent option for homeowners and businesses looking for a cost-effective and durable roofing solution. At Certified Roofing Solutions, we combine years of expertise with a dedication to quality, ensuring your roofing project is handled with care and precision.
Our team is committed to delivering reliable results, personalized service, and long-lasting warranties you can count on. Ready to get started on your roofing project? Contact Certified Roofing Solutions today for a free estimate and see why we’re the trusted choice for all your roofing needs!