Chimney Flashing Repair: Fixing Broken Chimney Flashing
Posted December 30th, 2024 | 7 min. Read
If you’ve noticed water stains on your ceiling near the fireplace, leaks during rainstorms, or cracks along your chimney base, it might be time to look into chimney flashing repair. Damaged or faulty chimney flashing can lead to water damage, structural issues, and costly repairs if left unaddressed. But don’t worry—understanding the basics of chimney flashing repair can help you protect your home from further damage. This guide will explore everything you need to know about chimney flashing repair, including:
- What chimney flashing is and why it’s important
- Step-by-step instructions for fixing damaged flashing
- When to call a professional for help
🤔 What Is Chimney Flashing and Why Is It Important?
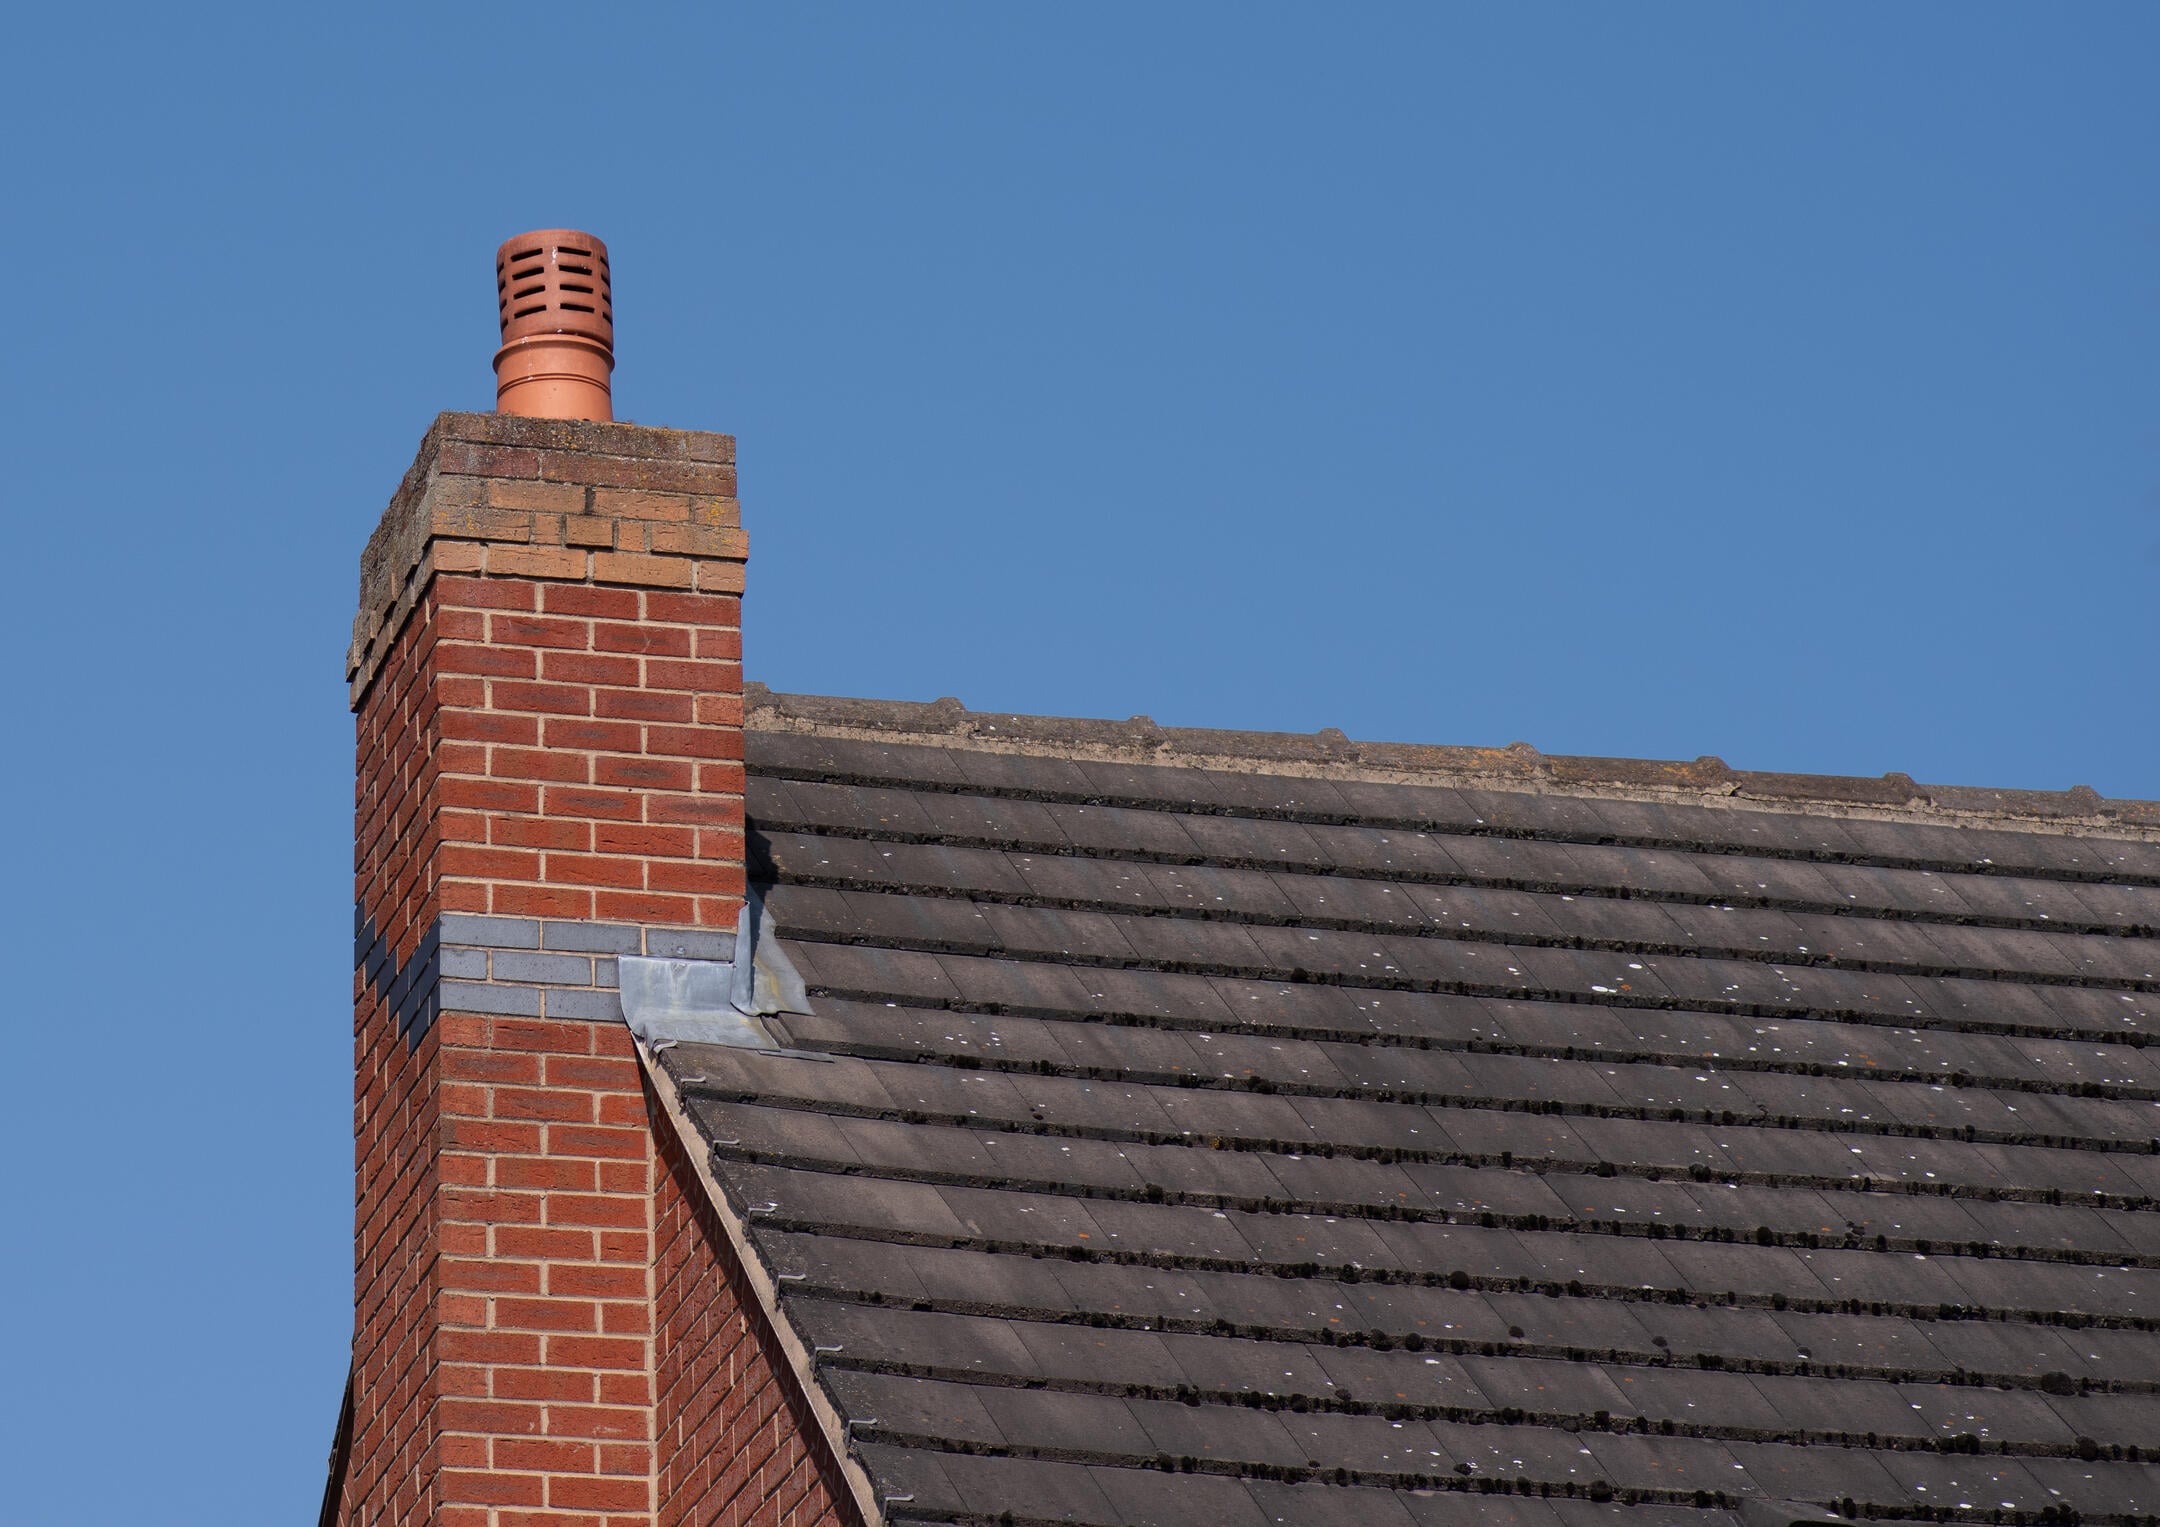
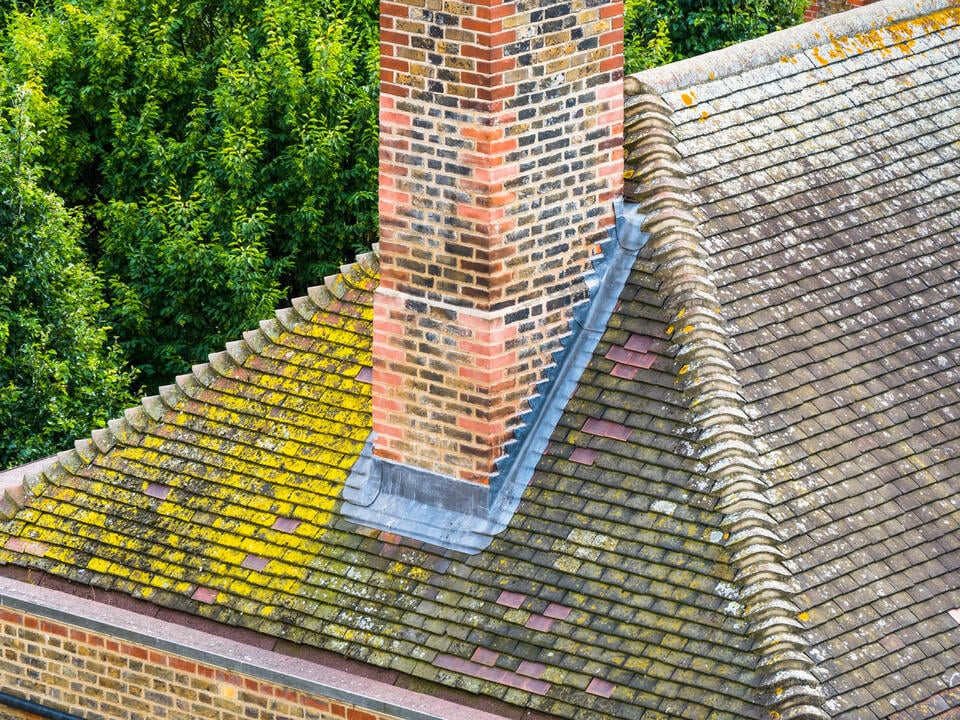
Chimney flashing is a crucial component of your roof that creates a waterproof seal around your chimney. It’s made of durable materials like galvanized steel, copper, or aluminum and is designed to prevent water from seeping into the gap between the chimney and roof. Properly installed flashing protects your home from water damage, mold growth, and structural decay.
Over time, flashing can wear down due to harsh weather, aging, or installation errors. When it fails, water can easily find its way inside your home, causing significant problems that require immediate attention.
Signs That Your Chimney Flashing Needs Repair
Wondering if your chimney flashing is damaged? Look for these common signs that repair is needed:
- Water Stains or Leaks: Discolored patches on your walls or ceiling near the chimney are a clear indicator that water is getting through.
- Cracked or Missing Flashing: Broken or visibly corroded flashing should be fixed immediately.
- Loose Seal: Flashing that has come loose or appears to be pulling away from the chimney can no longer provide effective protection.
- Rust or Deterioration: Rust on metal flashing or significant wear on other materials can reduce its water-resistant capabilities.
- Mold or Mildew Near the Chimney: Dampness caused by leaks may lead to mold growth inside your home.
If you observe any of these warning signs, it’s time to tackle chimney flashing repair.
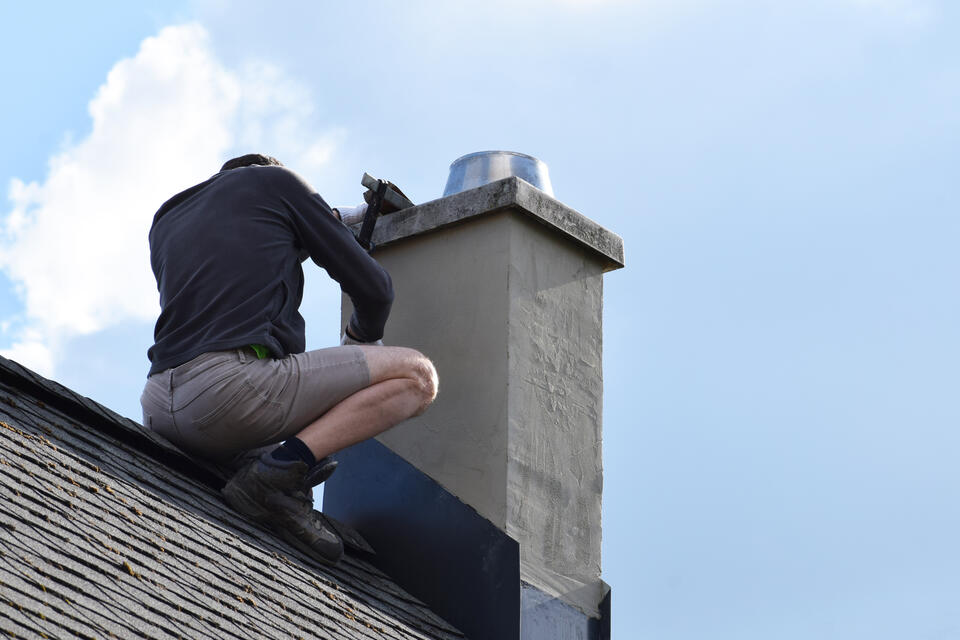
🛠️ 6 Steps to Repair Chimney Flashing

Repairing chimney flashing on your own can be a manageable task if you’re confident and comfortable working on your roof. Properly fixing flashing issues is crucial to prevent leaks and water damage. Follow these expanded steps to ensure the repair is done correctly:
Tools and Materials Needed
Before repairing chimney flashing, you’ll need the following tools and materials:
- Flashing material (aluminum, copper, or your choice of repair sheet)
- Roofing nails and a hammer
- Roofing sealant or caulk
- Wire brush for cleaning
- Pry bar to remove old flashing
- Measuring tape
- Utility knife
- Ladder and safety gear
Once you’ve gathered these supplies, you’re ready to get started.
1. Inspect the Damage
Start by carefully examining the chimney flashing to assess the extent of the damage. Check for visible signs of wear such as gaps, cracks, rust spots, or areas where the flashing has pulled away from the chimney or roof. Pay close attention to any places where water might seep through, as even small issues can lead to significant leaks over time. Take your time to inspect the area thoroughly, as identifying all problem spots is key to a successful repair.
2. Remove Damaged Flashing
Once you’ve identified the damaged areas, it’s time to remove the existing flashing. Using a pry bar, carefully lift and pull away any loose or broken pieces of flashing. Work slowly to avoid damaging the surrounding roof or chimney structure. Old sealants or caulk will need to be removed as well; use a utility knife or a scraper to clean away any leftover adhesive. After removing the damaged materials, clean the chimney base thoroughly with a wire brush. This step ensures that the surface is smooth and free from debris, allowing the new materials to adhere properly.
3. Measure and Cut New Flashing
Using a measuring tape, determine the exact size of the flashing pieces you’ll need to replace the damaged areas. Be as precise as possible to avoid gaps that could let water through. Once you have your measurements, cut your new flashing pieces from your chosen material using a utility knife or metal shears. Make sure the pieces are slightly larger than the damaged area to allow for overlap, which helps create a watertight seal. Double-check that the pieces will fit snugly around the base of the chimney before moving on to the next step.
4. Secure the New Flashing
With the new flashing pieces ready, position them carefully around the base of the chimney. Ensure that each piece fits securely and overlaps with the adjoining pieces to eliminate any potential gaps. Once in place, use roofing nails to attach the flashing firmly. Space the nails evenly along the edges to provide strong reinforcement and prevent the flashing from shifting over time. Take care not to damage the flashing material during the nailing process, as this could compromise its effectiveness.
5. Seal the Edges
To make the repair watertight, apply a generous layer of roofing sealant or caulk along all the edges of the flashing. Seal every joint, seam, and overlap to prevent water from penetrating through any gaps. Use a caulking gun for precision and ensure a smooth, even application. This step is critical for long-lasting protection, so take your time to carefully seal every corner and edge. Allow the sealant to dry according to the manufacturer’s instructions before proceeding.
6. Perform Final Inspection
Once the sealant has dried, inspect your work to ensure everything is securely attached and properly sealed. Look for any missed spots or areas where the flashing might still be loose or exposed. To test the repair, use a garden hose to run water around the chimney and flashing area. Observe carefully to make sure no water seeps through. If the test reveals any leaks, reapply sealant as needed to address the issue. Once you’re satisfied that the repair is solid, your chimney flashing should be good to go!
👨🔧 When to Call a Professional
While many homeowners enjoy tackling DIY projects, chimney flashing repair is often best left to the experts. Here are some key situations where bringing in a professional is highly recommended:
- Extensive or Hard-to-Assess Damage: If the flashing is severely corroded, rusted, or missing large sections, it can be difficult to determine the full extent of the damage without professional inspection. Experts have the tools and experience to identify hidden issues that you might not spot.
- Safety Concerns: Working on a roof can be dangerous, especially if you’re uncomfortable with heights or don’t have the proper safety equipment like harnesses or stabilizers. Professionals are trained to work safely in these conditions, minimizing the risk of injury.
- Previous Installation Errors: If the flashing was improperly installed in the past, it may require more than a simple fix. A professional can identify and correct underlying installation issues to prevent recurring problems.
- Complex Roof Structures: Homes with unique or steep roof designs can make chimney flashing repair especially challenging. Professionals have the expertise to navigate these complexities without causing further damage.
- Long-Term Protection: A quick DIY repair may not provide the durability or weather resistance you need, especially in areas prone to heavy rain, snow, or strong winds. Contractors ensure that the repair is thorough and built to last, offering peace of mind and long-term protection for your home.
By hiring an experienced contractor, you can save time, avoid costly mistakes, and ensure the repair is done right the first time. They’ll not only repair the flashing but also help safeguard your roof and home against future water damage.
🙌 Protect Your Home with Expert Chimney Flashing Repairs from Certified Roofing Solutions
At Certified Roofing Solutions, we pride ourselves on delivering top-notch craftsmanship and dependable service for all your home repair needs, including chimney flashing repairs. Our experienced team is dedicated to protecting your home from costly water damage with precision and care. Using high-quality materials and proven techniques, we ensure your roof remains secure and durable for years to come. Don’t wait to address issues with your chimney flashing—contact Certified Roofing Solutions today to schedule an inspection or get a free estimate. Trust us to keep your home safe, dry, and in excellent condition!